I may have mentioned elsewhere that I love to craft. I used to try selling my crafts on Etsy, but because I love to do so many things I really didn’t have the focus I needed for my shop. One of these days, I might just pick one and get back to it, but in the meantime, I decided to start posting crafting videos on YouTube. As of this post, my most recent is about making a wooden Christmas tree advent calendar.
The first thing I did was search for Christmas tree wood cut-outs that were reasonably priced and which I figured wouldn’t end up out-of-stock, the way a lot of things do. I found a twelve-pack on Amazon and bought them along with some mini cup hooks. As soon as the items arrived, I set out to make a calendar to be reused and easily updated each year by changing out the little hanging tags.
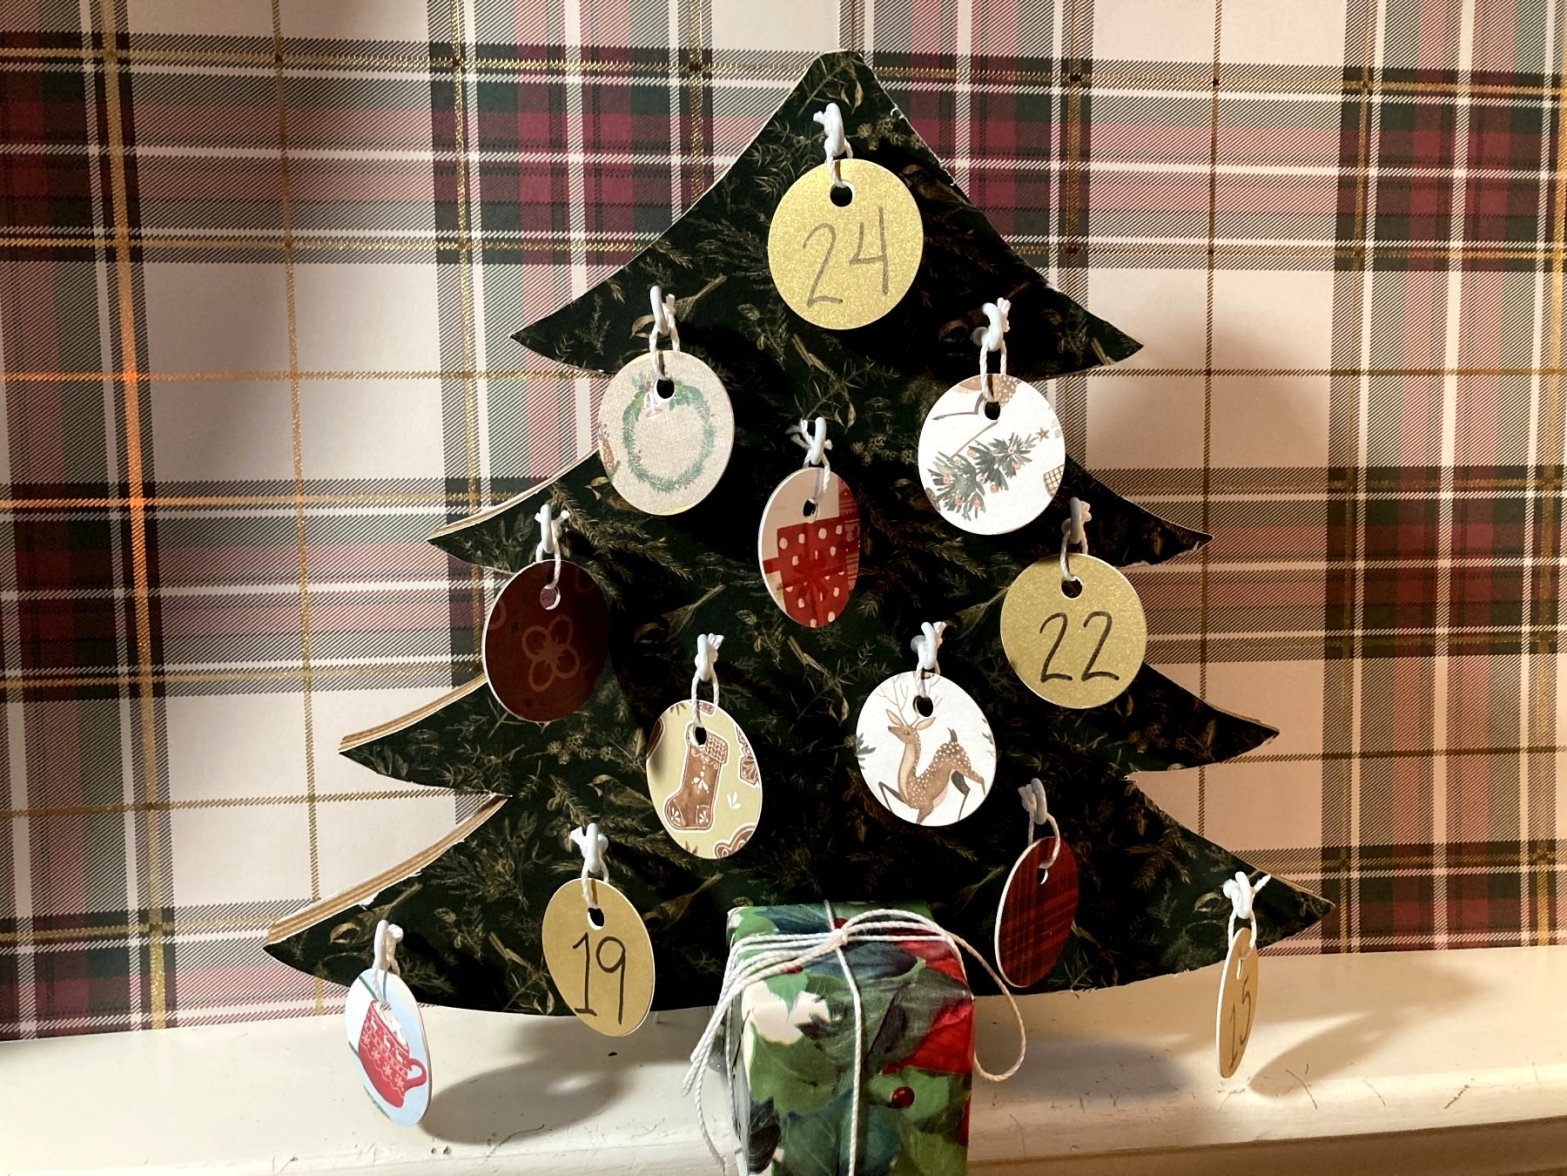
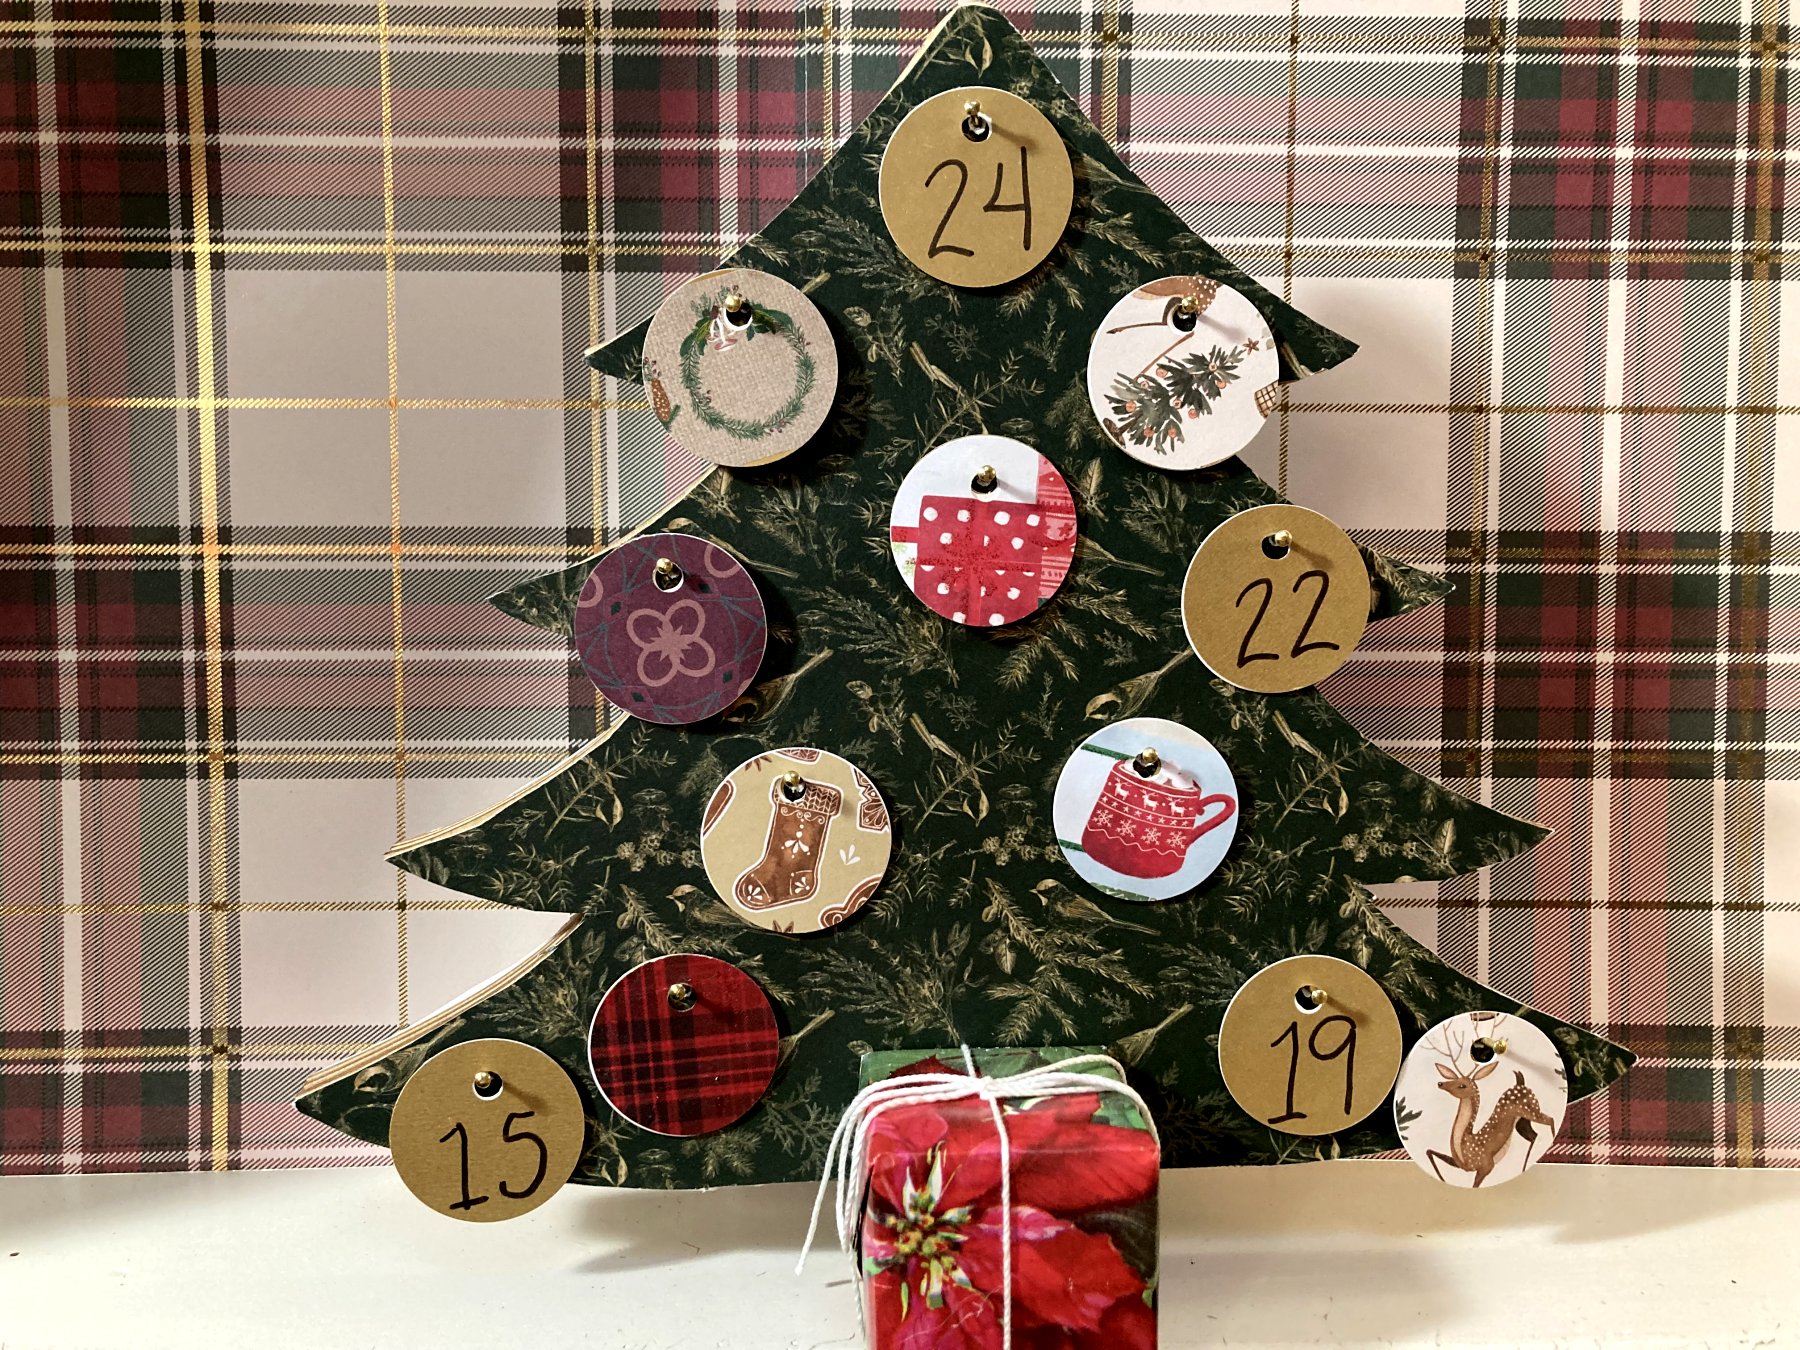
I really like the way it turned out. After I completed the project, however, I decided it might be easier to use brads for hanging the tags (the kind you get with the smallest picture hooks). You might wish to decide what you like best before purchasing your supplies. The one with the cup hooks has a lot of fun movement to it, but the tags need to be hung by string, embroidery floss, or some narrow ribbon, whereas the tags merely need to be slipped onto the brads in the second option and might be easier for smaller fingers to remove and replace as the days progress through December toward Christmas Day. Up to you!
I will start with the items needed, and I will also embed the YouTube video in this blog, in case you prefer a visual instruction. In addition, I will link (where applicable and where I can) the supplies to where I bought them. As an Amazon Associate, I do earn a commission from qualifying purchases, just as an fyi.
Supplies:
(Most of these linked packages come with more than you need to make this project. I will be posting other projects using these materials, and you can also make multiples of this project, if you’d like.)
Wooden Christmas tree cut-outs (or wood stocking cut-outs—I did see those, as well, and they could be adorable, too!). The ones I used are 10” tall and about 1/8” in thickness.
Mini (1/2″) cup hooks or small brads (this brad link is to a picture hanging set, which always come in handy)
1 ½” hole punch (although I got mine at Michael’s a while ago, I found a link to a set of three in graduated sizes on Amazon)
Scrapbook/craft paper (or wrapping paper, construction paper, an old cereal box, paint). I like to get my paper at Michaels, but it is available many places.
Wood glue (this link is to Gorilla glue on Amazon–a two pack that seems quite reasonable in price–but you can use whatever wood glue you want)
Craft glue This link is to Amazon, but I’ve also gotten my craft glue at Walmart and elsewhere.
Mod Podge (or similar product–also available at any craft store, Walmart, etc.)
Permanent marker or paint marker (permanent markers are available many places and paint markers can usually be found at your favorite craft store)
Thin string (or embroidery floss, narrow yarn, narrow ribbon)
2” x 2” wooden blocks (two of these for each calendar you make). I got mine at Lowe’s, but the link is to Amazon. They were cheaper on Amazon than what I believe I paid at Lowes, but I had a gift card. You may also find them at Dollar Tree or the like.
Christmas wrapping paper (leftover from a prior year is fine).
A piece of scrap cardboard (from an empty cereal box will do).
A sanding block or sandpaper (light grit). The link takes you to a set of sanding blocks of different grit. You can sometimes find them sold individually at Walmart or your local hardware store.
A heavy book or similar object
Pencil
Scissors
Sponge brush (available at craft stores, hardware stores, some supermarkets).
Hot glue gun — this link is to an Amazon page with many hot glue guns. I can’t remember exactly where I purchased mine, although it might have been Michaels.
Instructions:
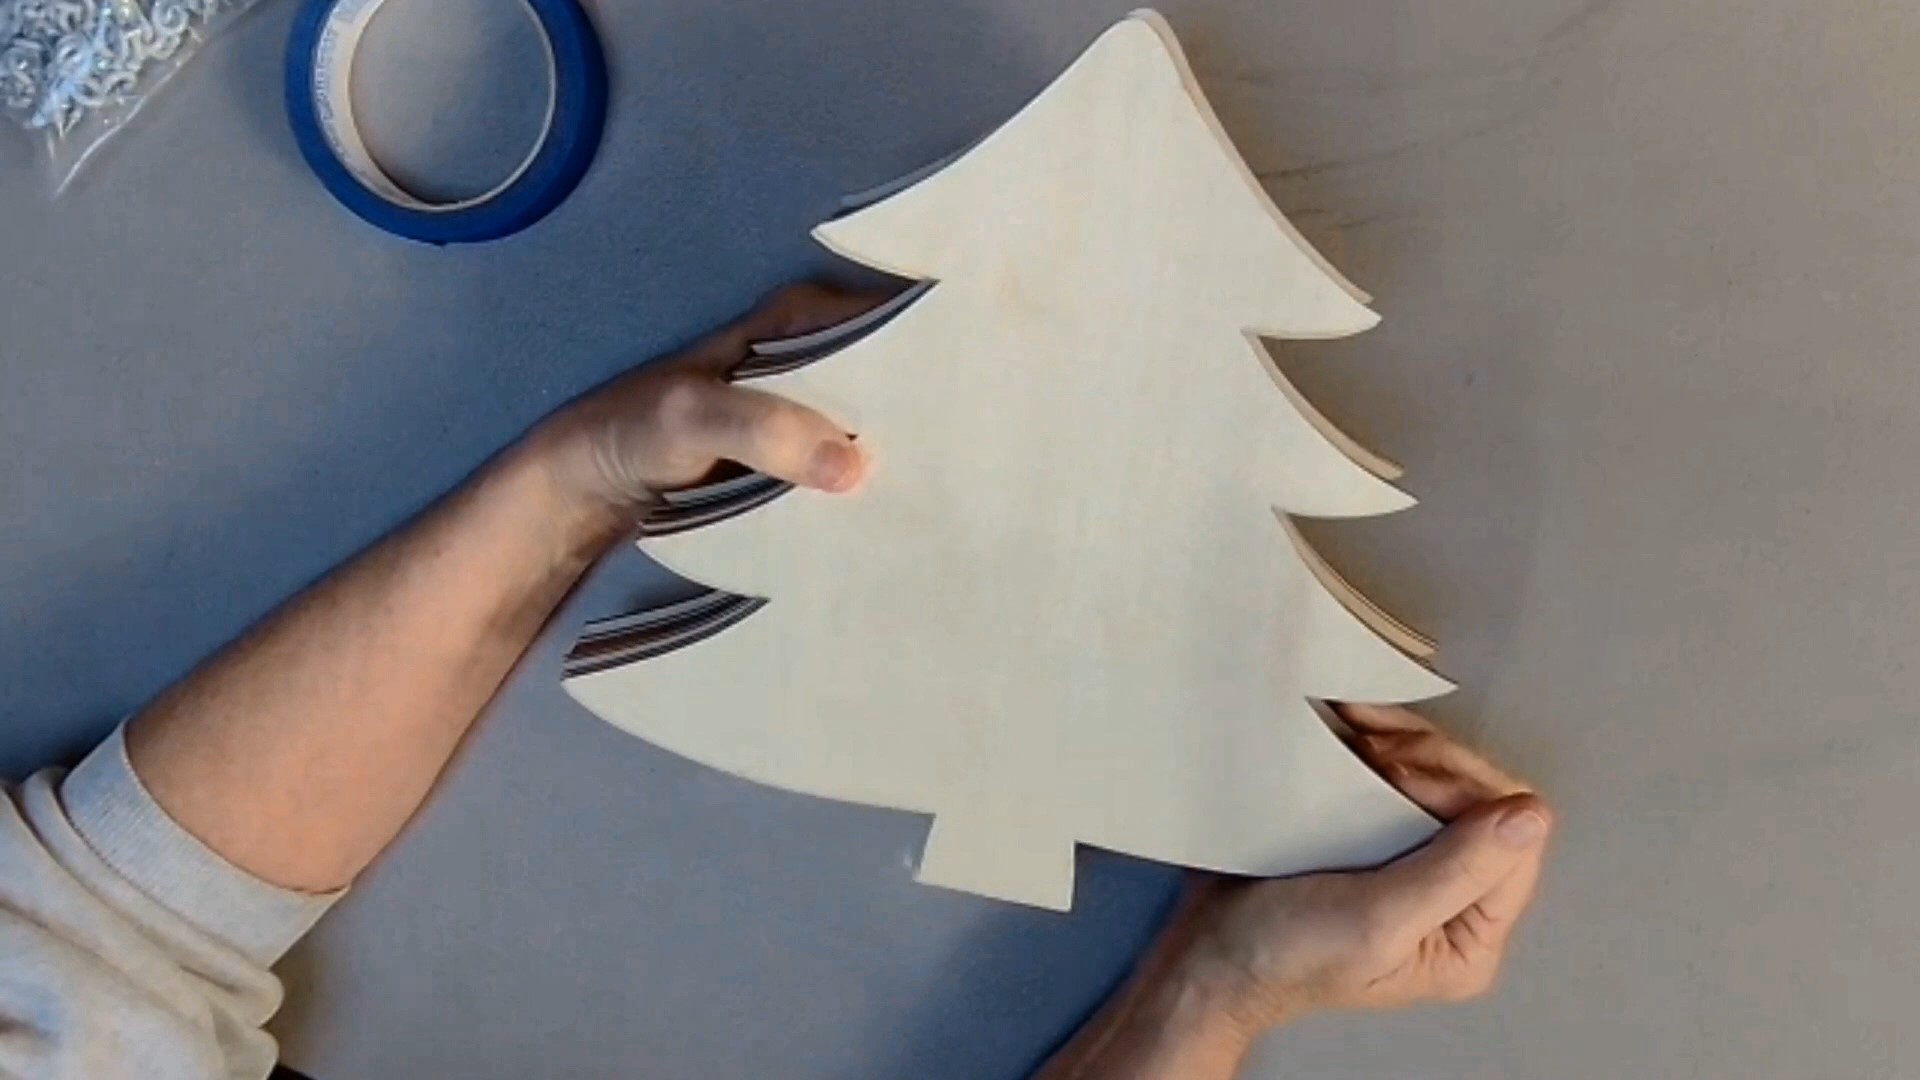
You will need no less than four of the wooden cut-outs to make one calendar, because you want to make sure the pointed ends of the hooks or brads don’t pierce the opposite side of your calendar. If the cut-outs need a light sanding, use a bit of sandpaper or your sanding block. Mine did not require sanding. They were quite smooth.
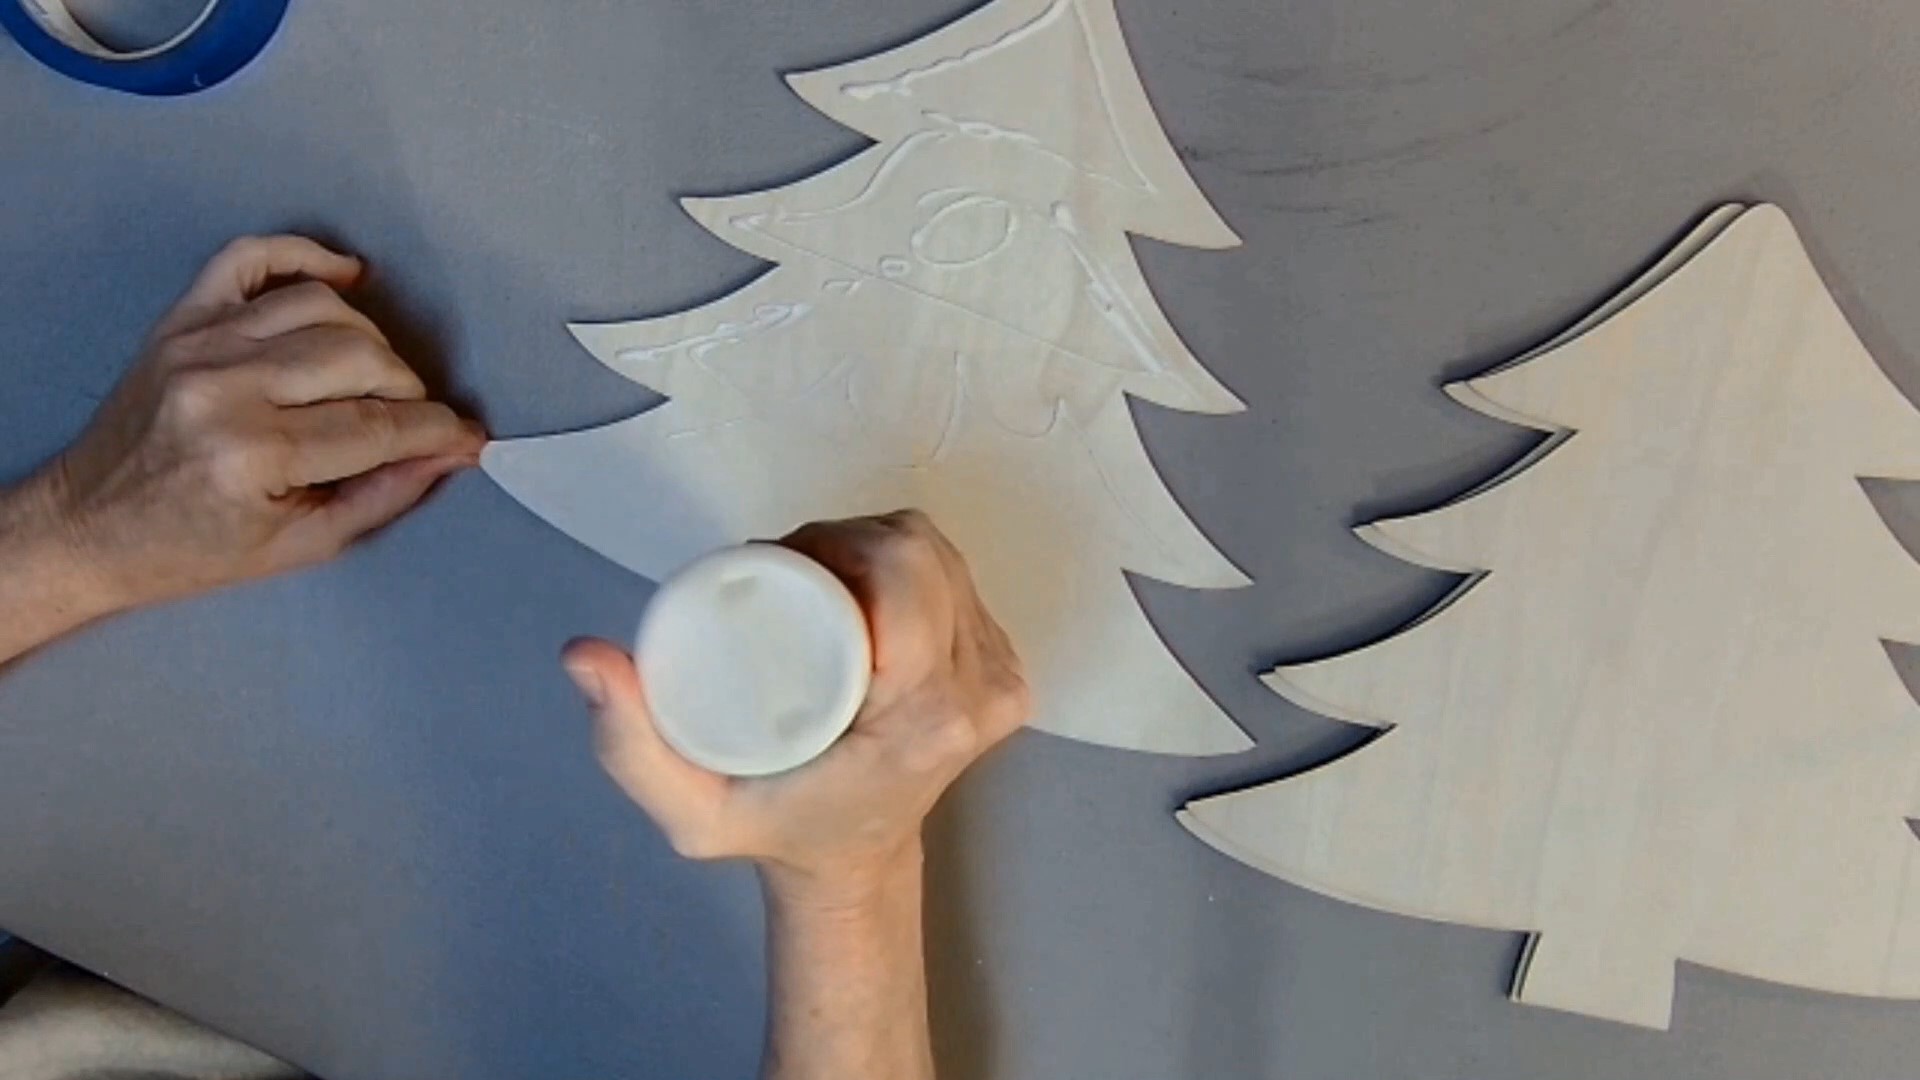
With the sponge brush, smear a thin layer of wood glue on the first cut-out and place the second on top, making sure they are lined up properly. Repeat the placement of glue on the second, putting the third cut-out on top, and then again, finishing up by placing the fourth on top of the third. (If your tree is not thick enough yet to prevent the hook point coming through, add a layer or two until it is.)
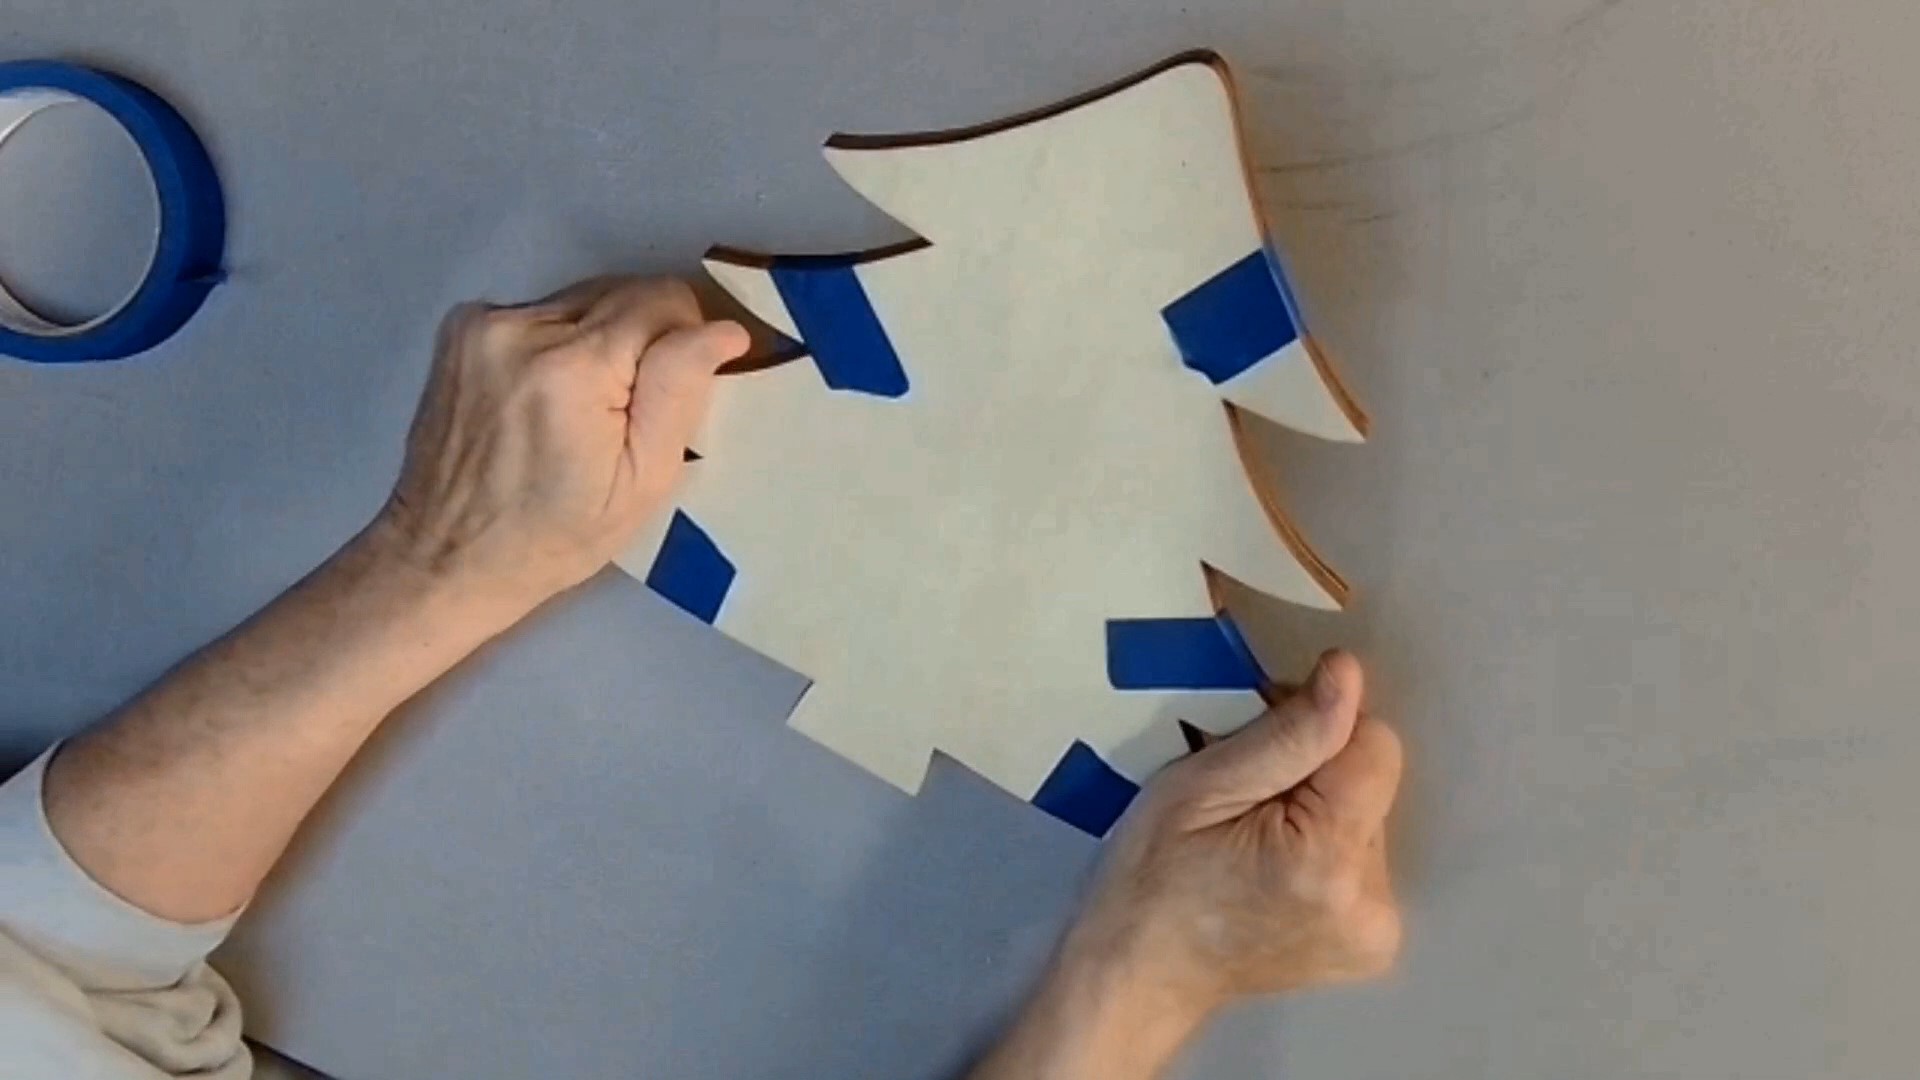
Make sure your cut-outs are lined up evenly, and press down. Place short strips of painter’s tape at various points on the edges to hold them steady while they dry. (Because of the wood’s softness, I opted to use the tape rather than any kind of clamp.) Set aside with a heavy book or similar object placed on top to keep pressure on the wood pieces.
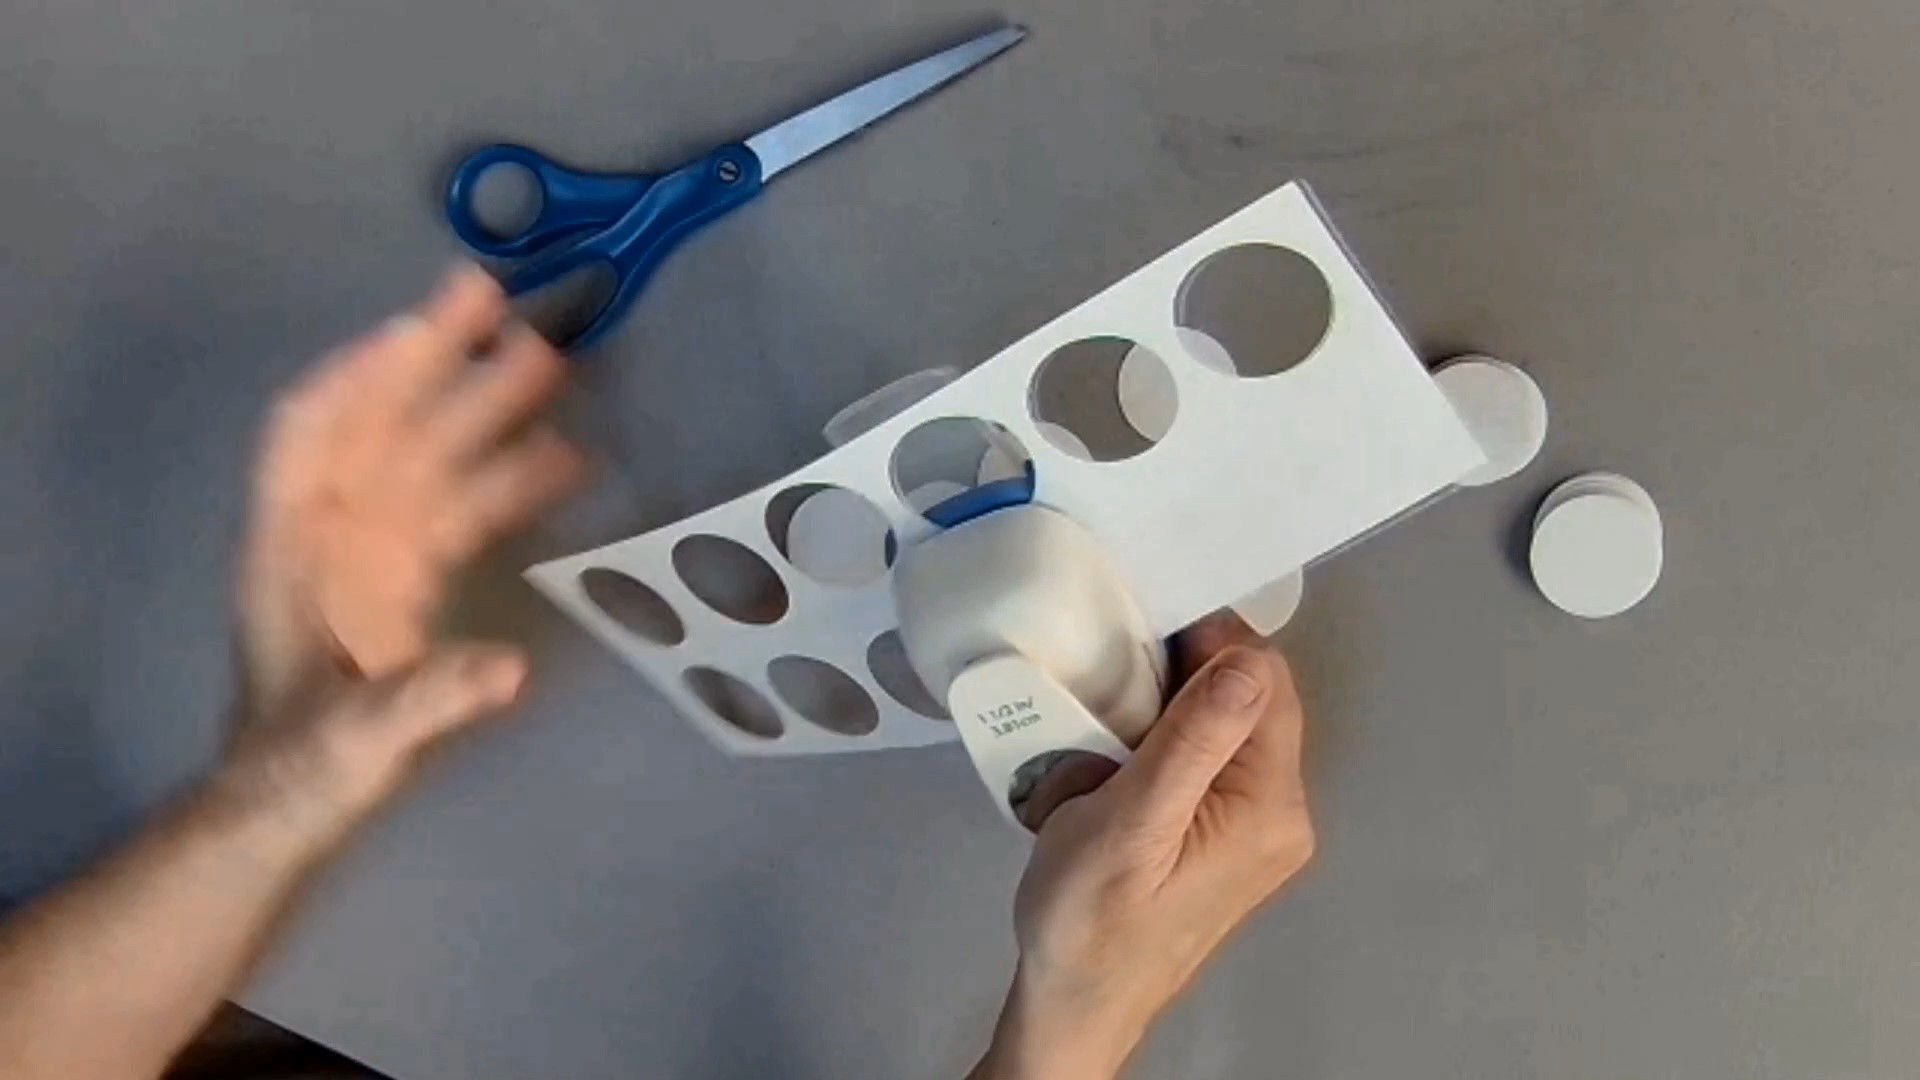
While your construction is drying, use your 1 ½” hole punch to punch 48 circles from white 65 lb. craft/cardstock paper (or 24 circles from your cereal box, as it is thicker, or 72 circles from construction paper, as it is usually thinner than the 65 lb. cardstock).
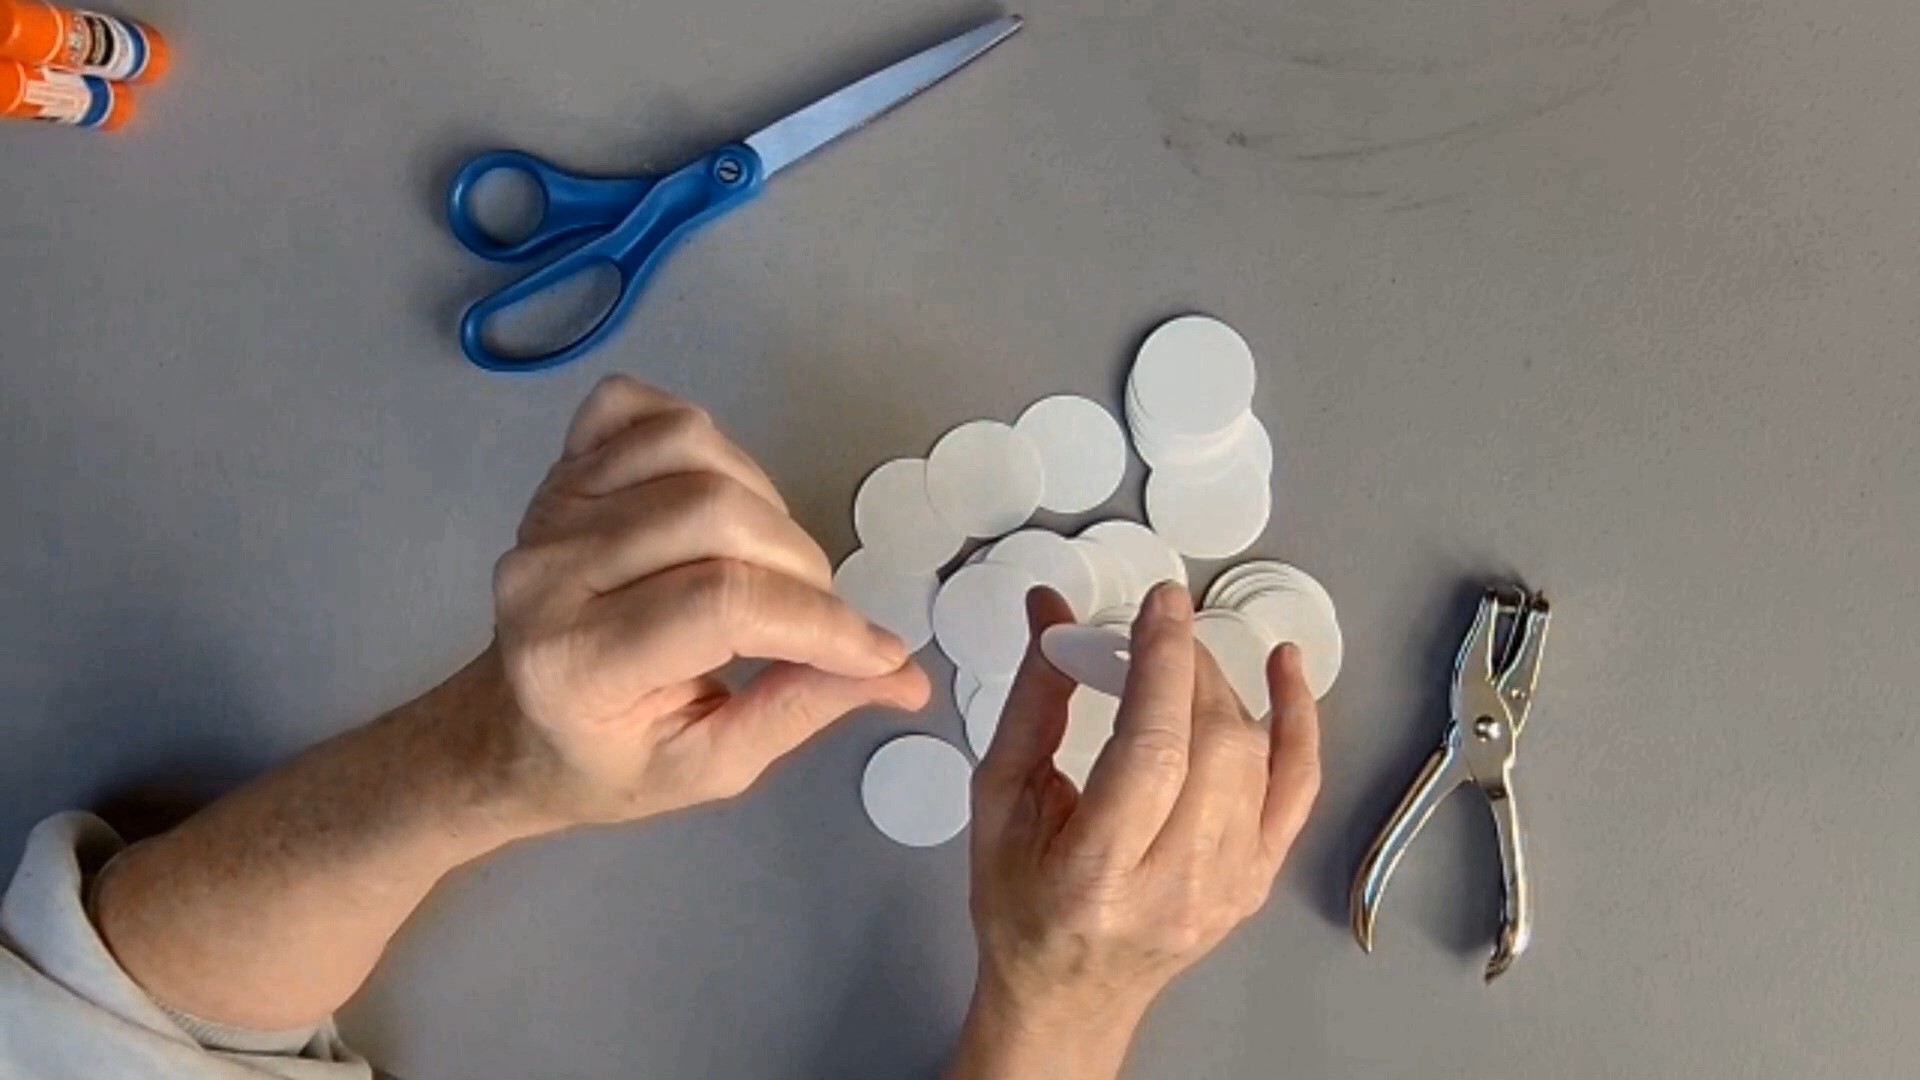
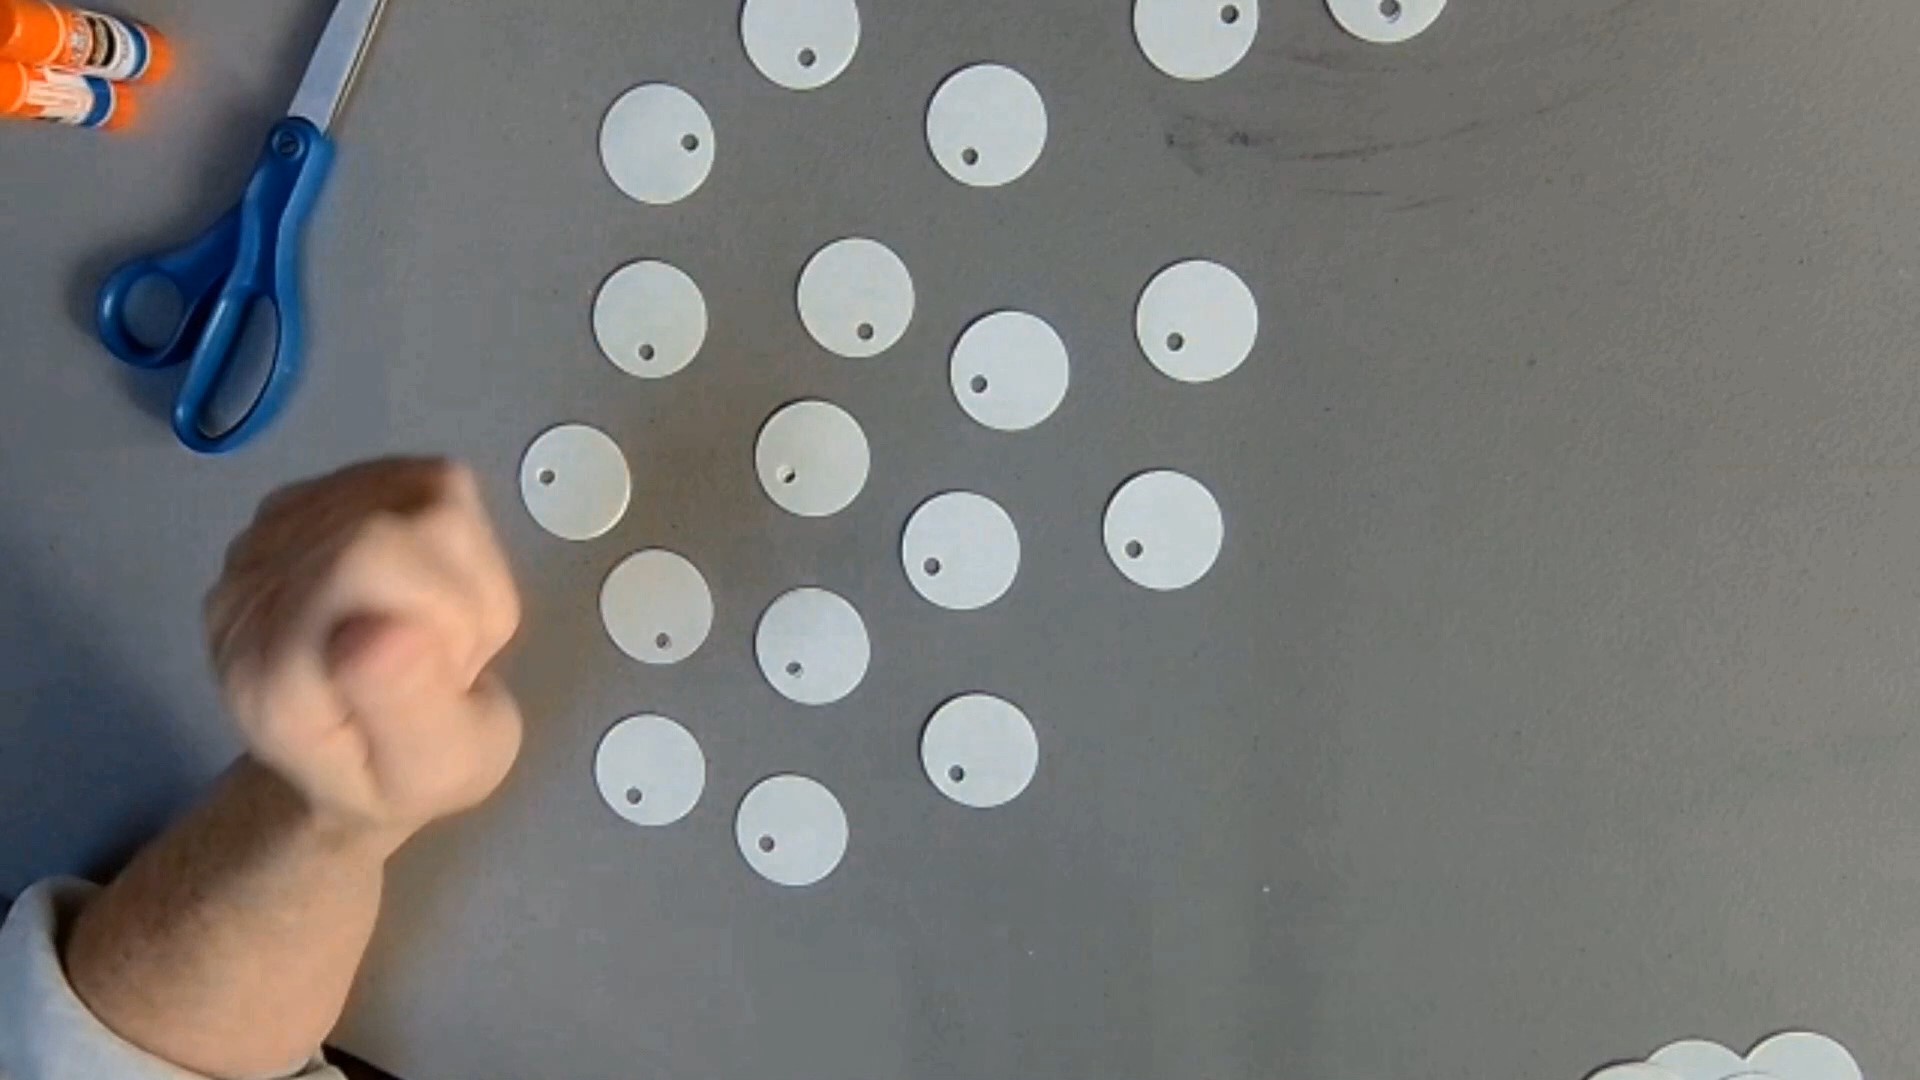
Using the small hole punch, punch through two circles at a time a little more than an 1/8” from the edge (if using the cardstock—otherwise, one circle of cereal box or three circles of construction paper). Place each set aside together. It is important they stay together so the holes match.
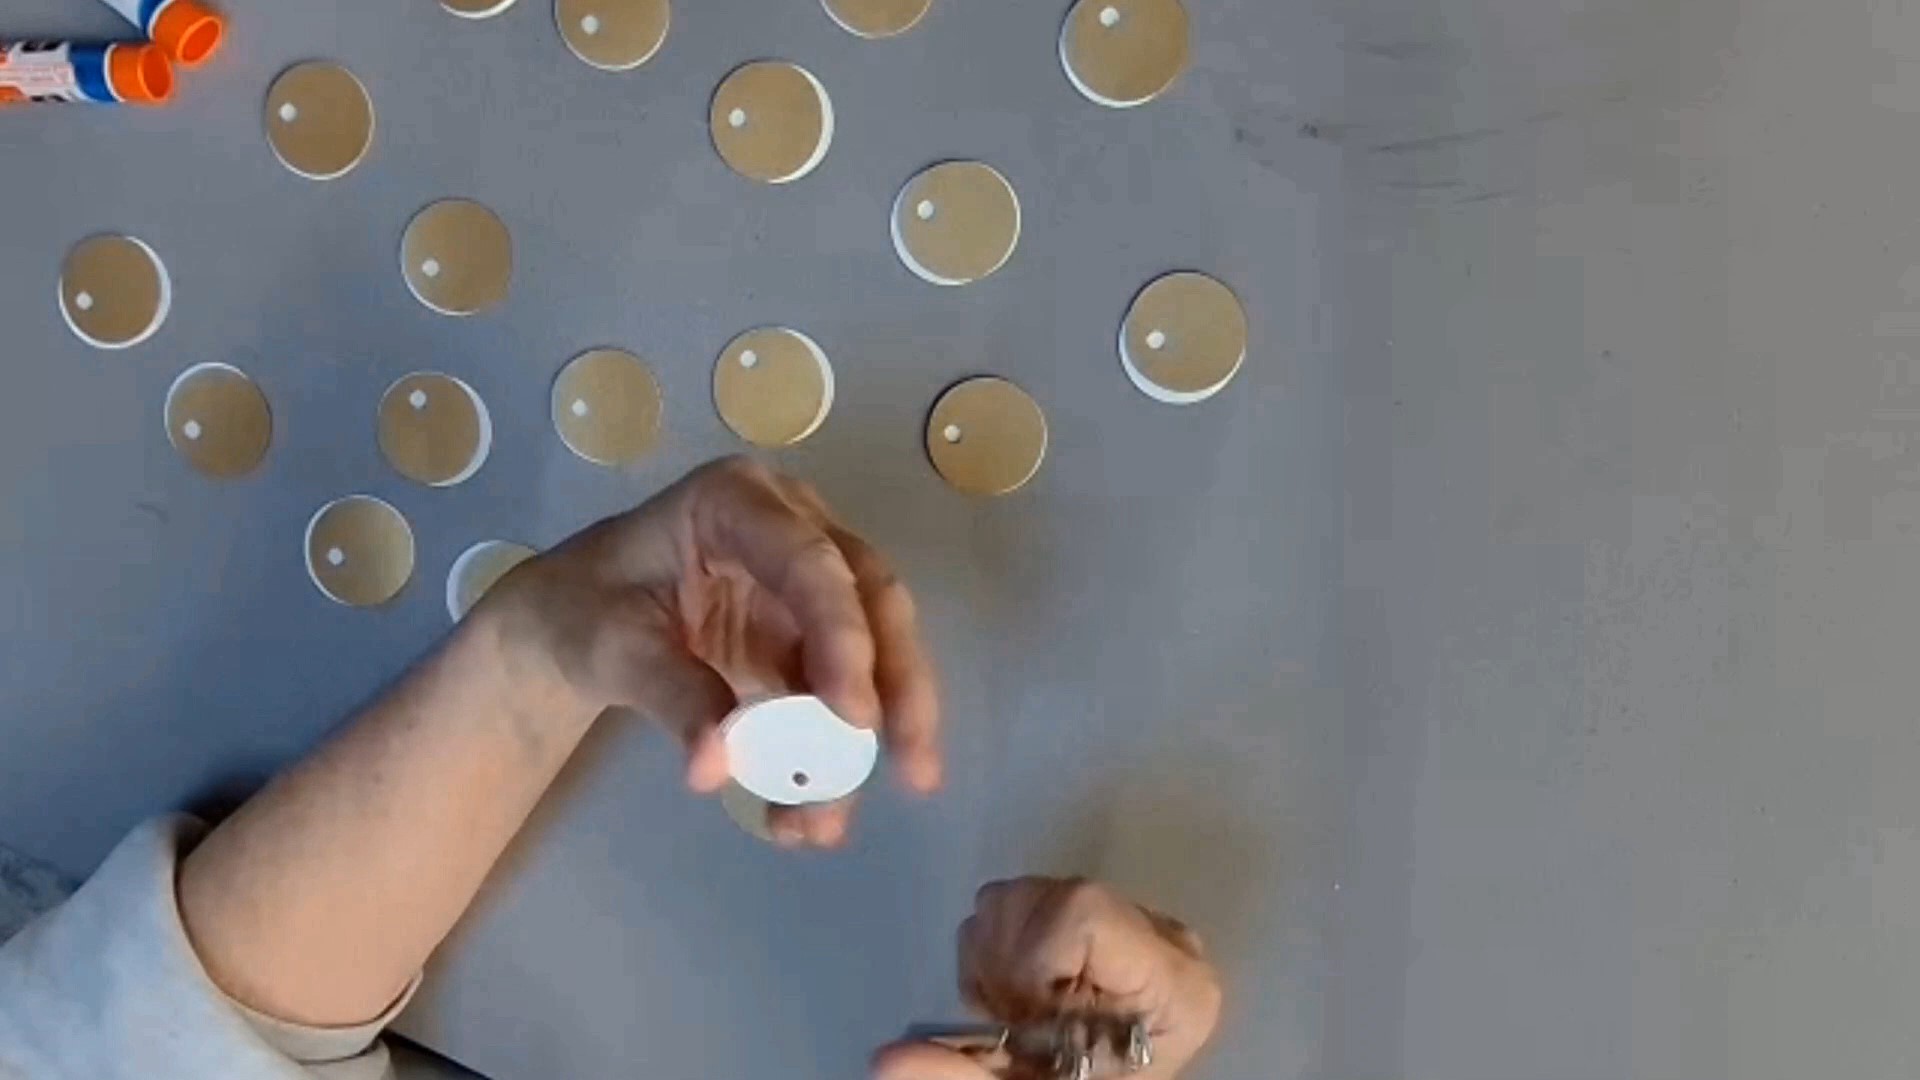
You now want to make the circles which will eventually have the numbers written on them. You can make these from cardstock, construction paper, or copy paper. I made mine from a gold shimmer paper. Using the 1 ½” hole punch, punch out 24 of these. Each set of circles you have already made from the white cardstock will need one of these circles. Line one of these circles up to each set and, with the small paper punch, punch a hole to match in placement. Again, keep your sets together and set aside.
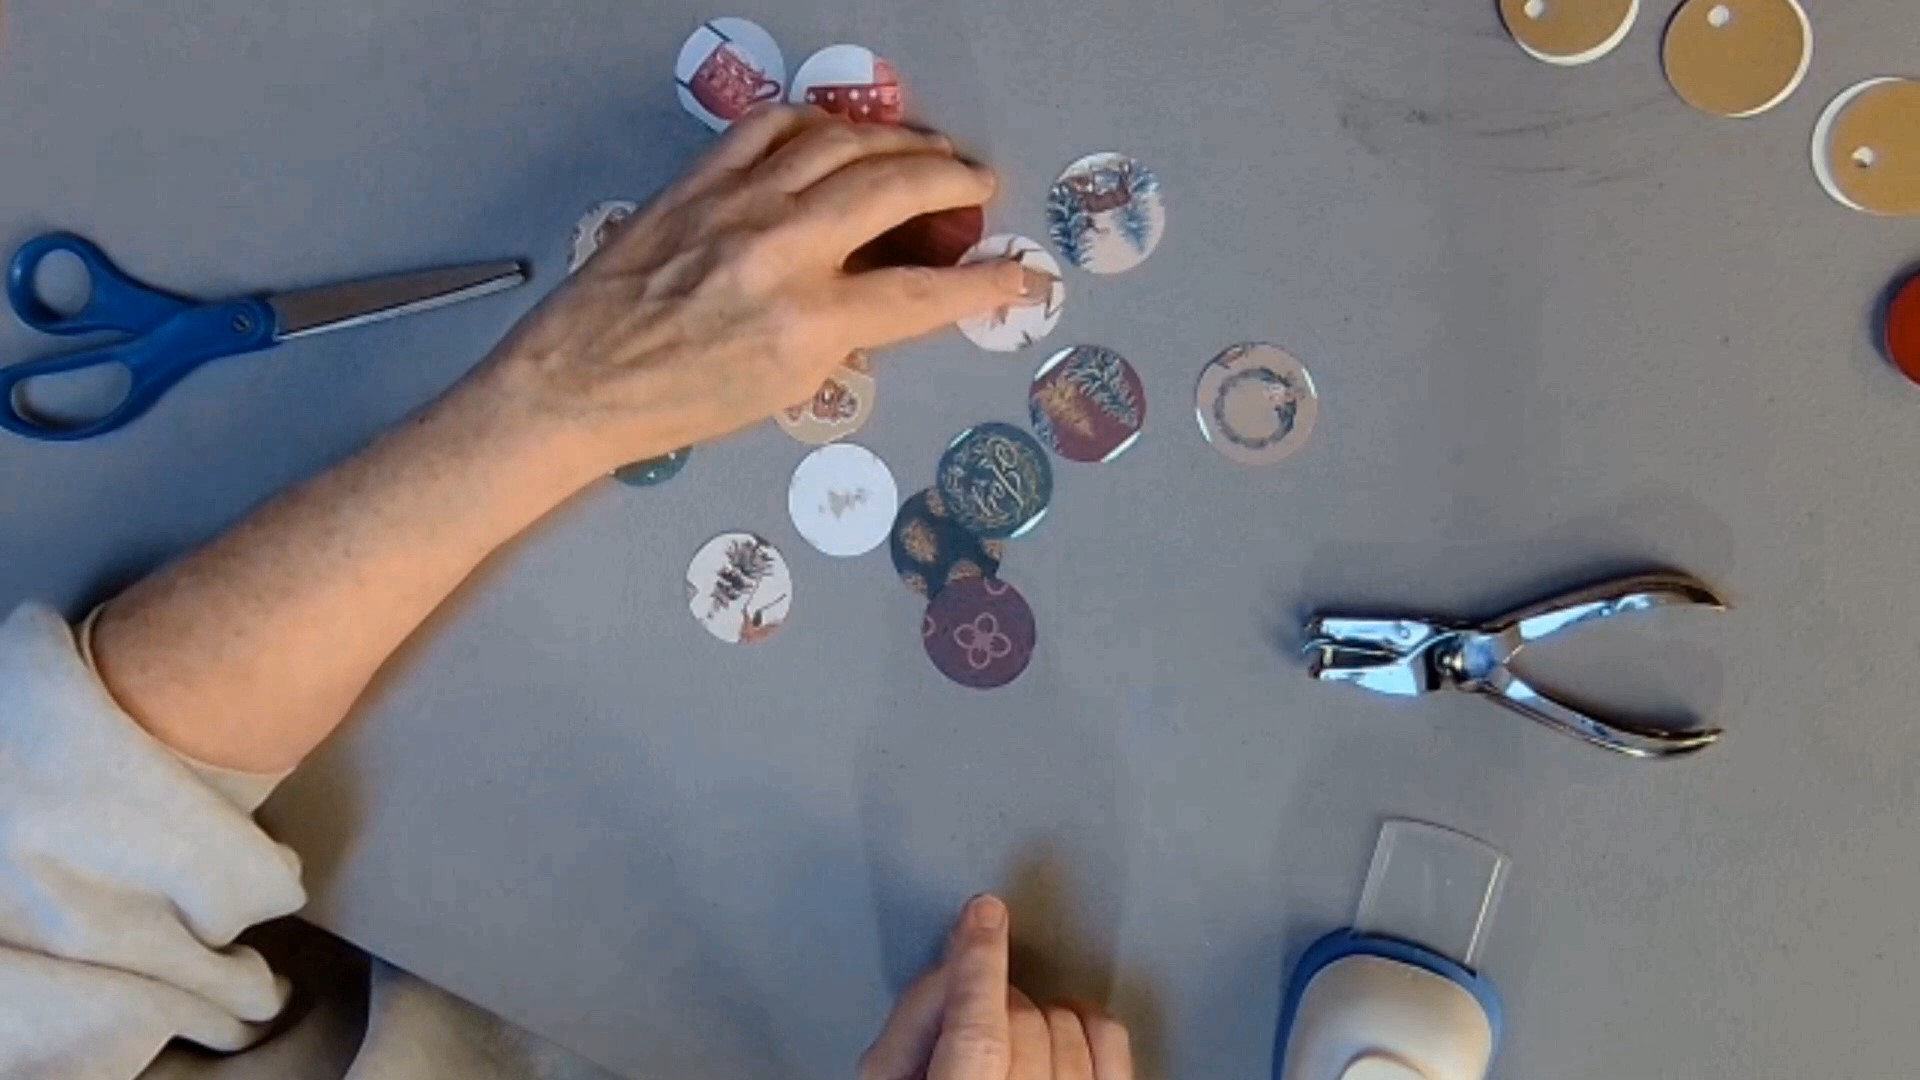
Now, using scrapbook/cardstock paper, old Christmas cards from years gone by, magazine pictures, printed photos of family, pets, or what-have you, punch out 24 more circles from these with your 1 ½” hole punch until you have a lovely variety of images.
For each set you have set aside, pick an image, line it up to a hole in the set, and punch it with the small paper punch. Keep your sets together.
Taking each set, use your craft glue (whether stick glue or liquid) and glue the layers together with the holes properly aligned, starting with the inner layers, and adding your number layer and image layer to front and back. Place all these aside with something heavy on top and let dry.
Once dry, take your permanent marker or paint marker and draw numbers on the non-image side, from 1 to 24. You may also be able to find small, stick-on numbers. If you do, feel free to use these instead. (Any users of cutting machines such as a Cricut, size the numbers appropriately and cut them out on a sticker paper setting.)
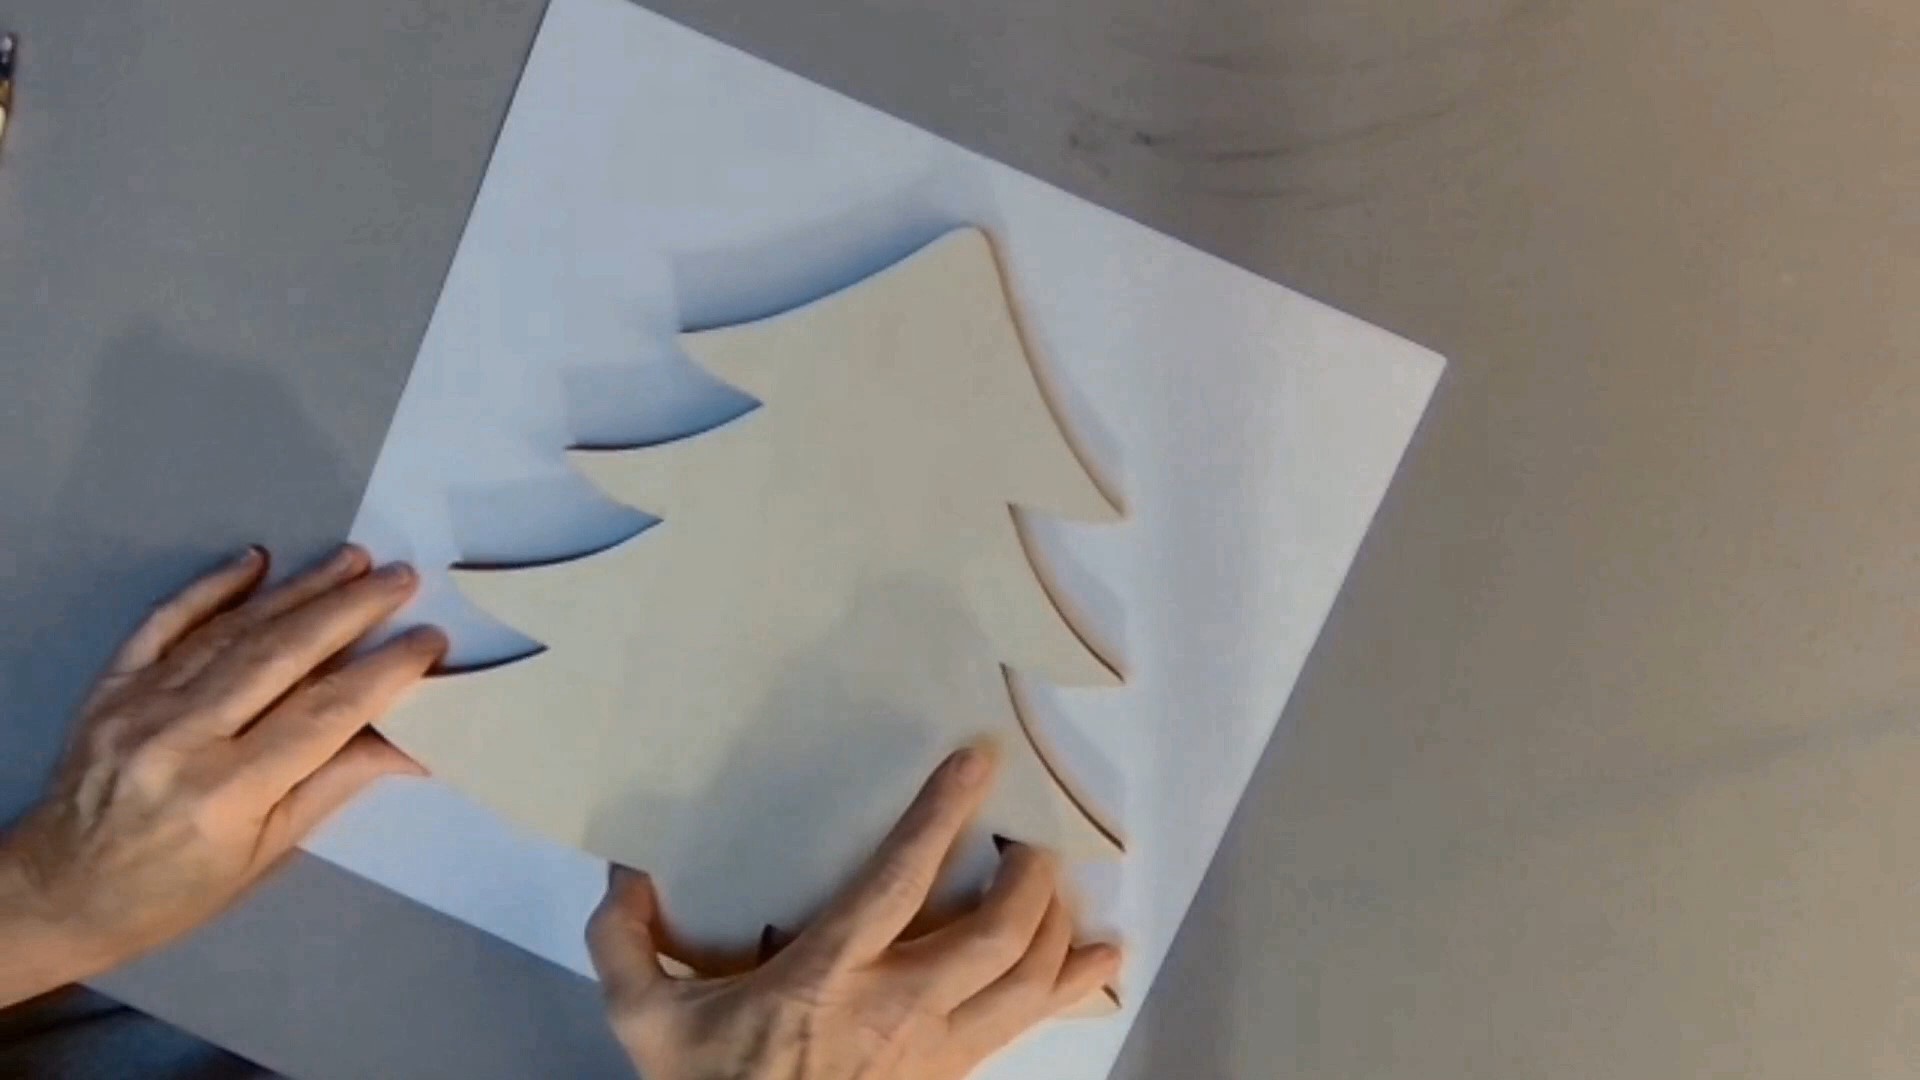
Spread whatever paper you have chosen to cover your tree face down on your work surface. Remove the tape from your cured tree and align it on top.
Outline the tree on the paper with a pencil. Place two pieces of the paper you are going to use face to face (making sure any patterns are facing the same direction) and place a small piece of the painter’s tape you have removed from the wooden tree to either side (less sticky now) to hold the papers steady.
Carefully cut the tree shape out with your scissors.
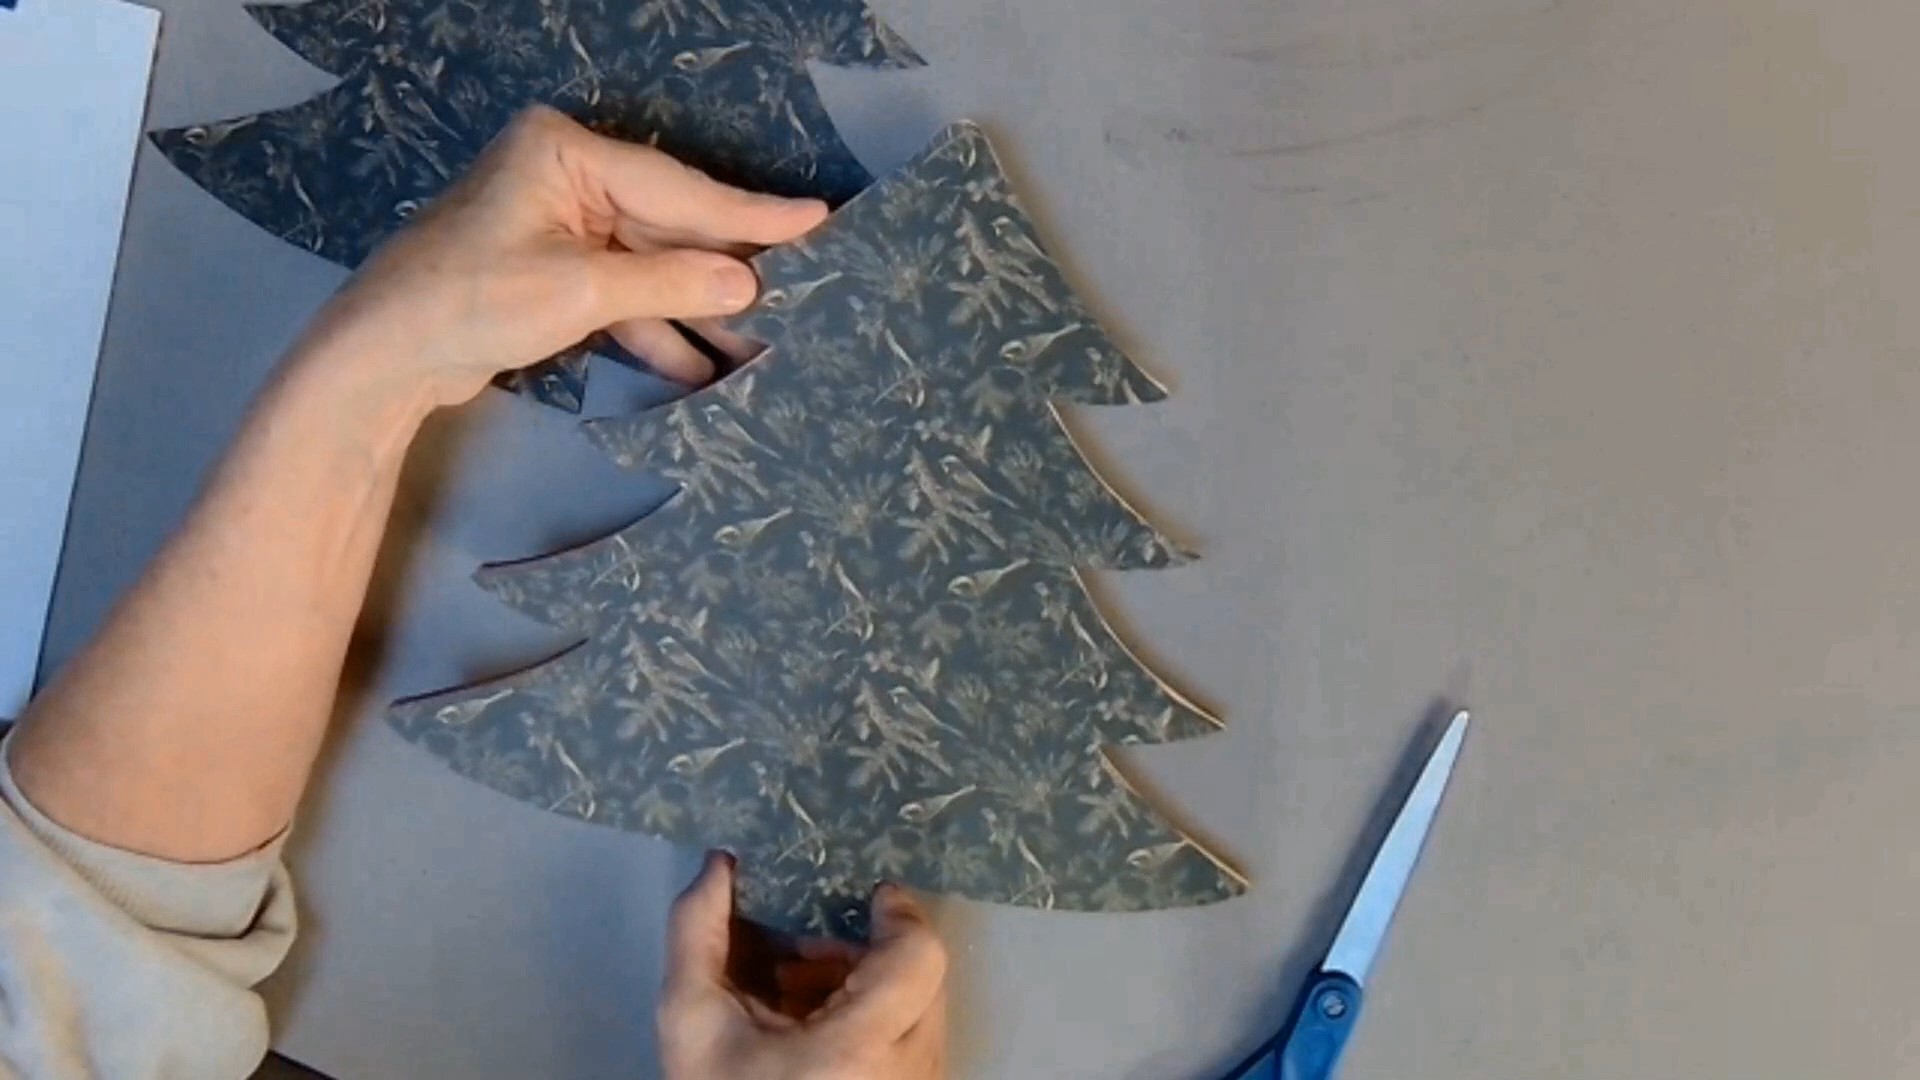
With your sponge brush, spread Mod Podge (or similar product) in a thin, even layer over one side of your tree. Line up one of your paper “tree” cut-outs on the wood tree and slowly smooth out from the middle to the edges. Turn the wood tree over and repeat on the other side. Set aside to dry.
Once dry, coat the paper-covered front and back with Mod Podge in a thin layer, allowing one side to dry before you coat the other. (If you have opted to paint the tree rather than use paper, just apply your paint of choice until satisfied with the color and let dry before doing the other side.) Once the tree has dried again, if you find your paper extends past the wooden tree, trim it with sharp scissors and then use your sanding sponge or sanding paper in quick, short strokes on the edges (not down the whole side at once) to clean off any rough spots.
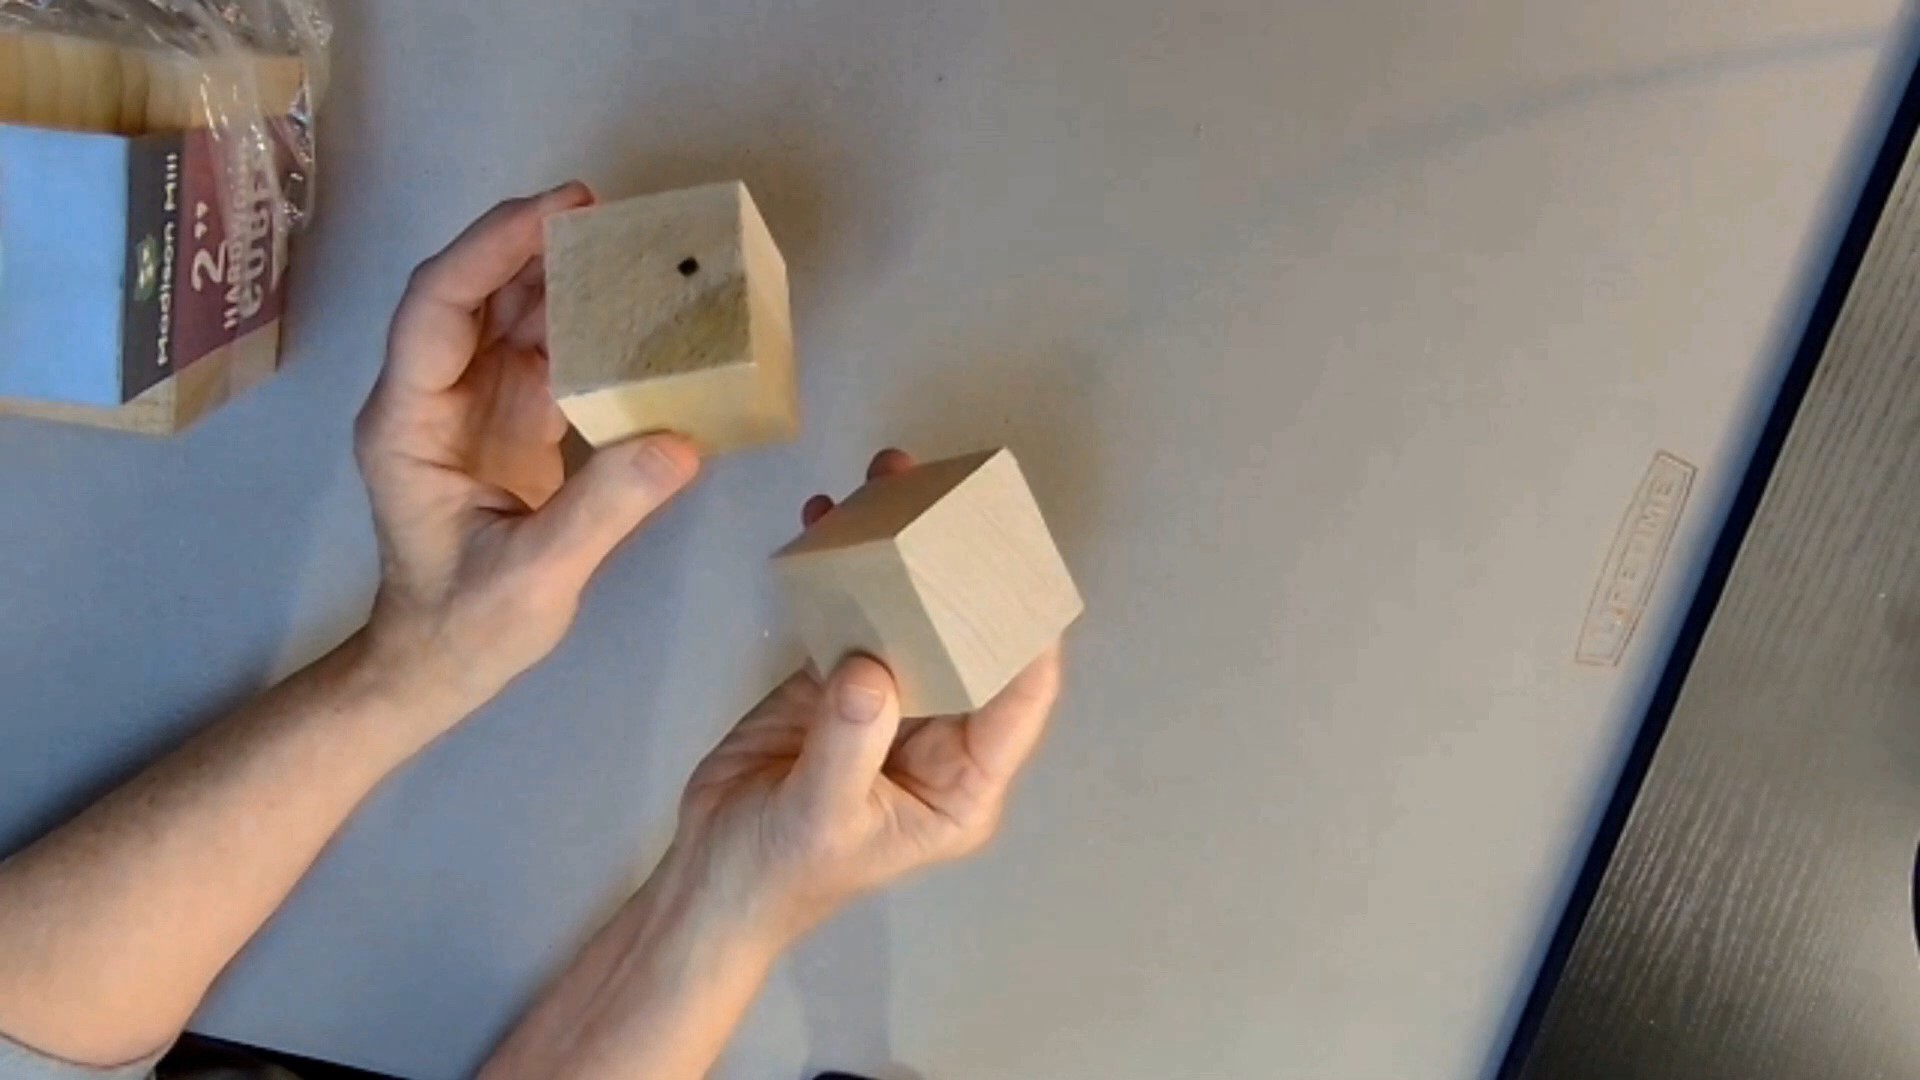
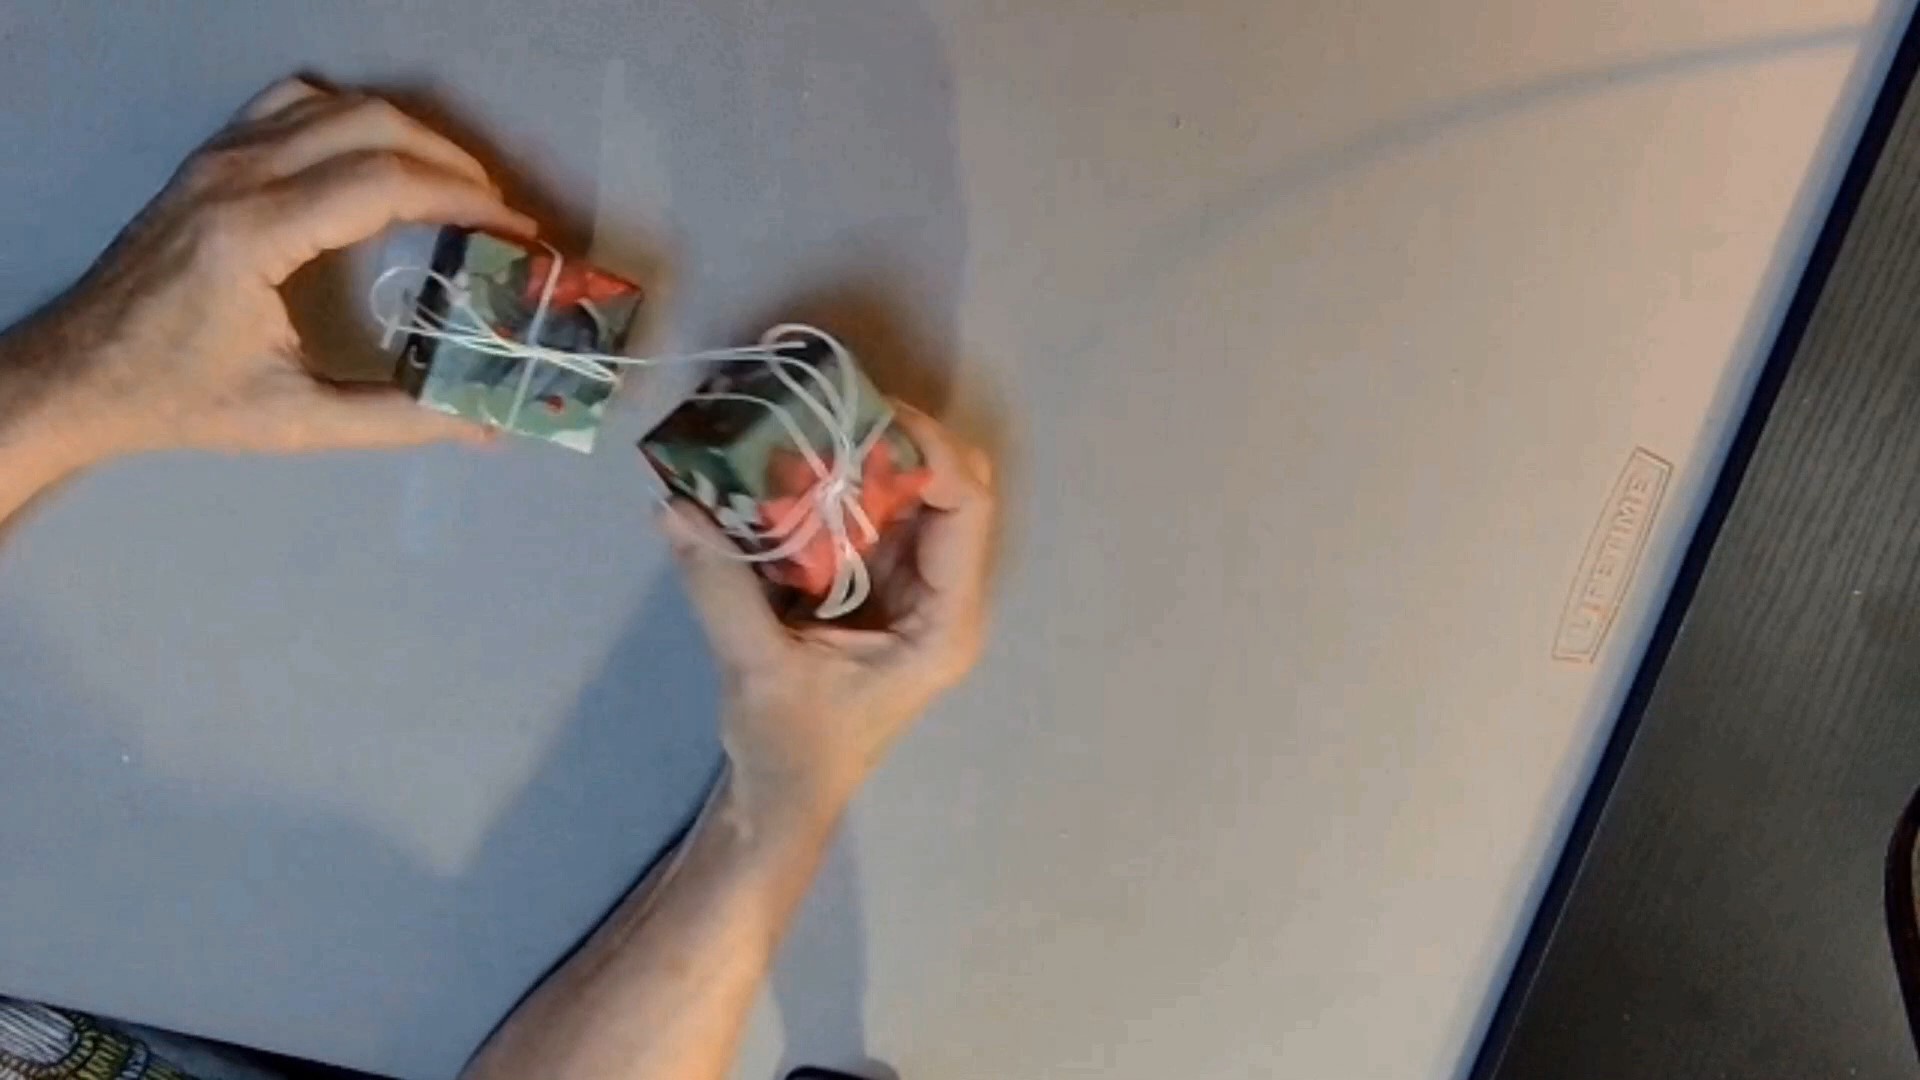
During all the above drying time, you can prepare the two wood blocks by wrapping them as you would a gift. Rather than using tape, though, I suggest using glue to hold the paper. Embellish as you like, but make sure anything you place on top does not spread out too wide on either side.
Also, while things are drying, cut four-inch lengths of your thin string, embroidery floss, or whatever you have chosen to use on your numbered discs. If your circles are dry, you may now attach the string to each one. Slip one end through the hole, line both ends up evenly above the circle, and then tie a knot about a ¼” above the paper disc, leaving space in the loop large enough to maneuver it over the cup hook for hanging. Snip off the excess. NOTE: If you have opted for using the brads, you can skip this part, as the numbered discs can be hung directly on the brads using the holes.

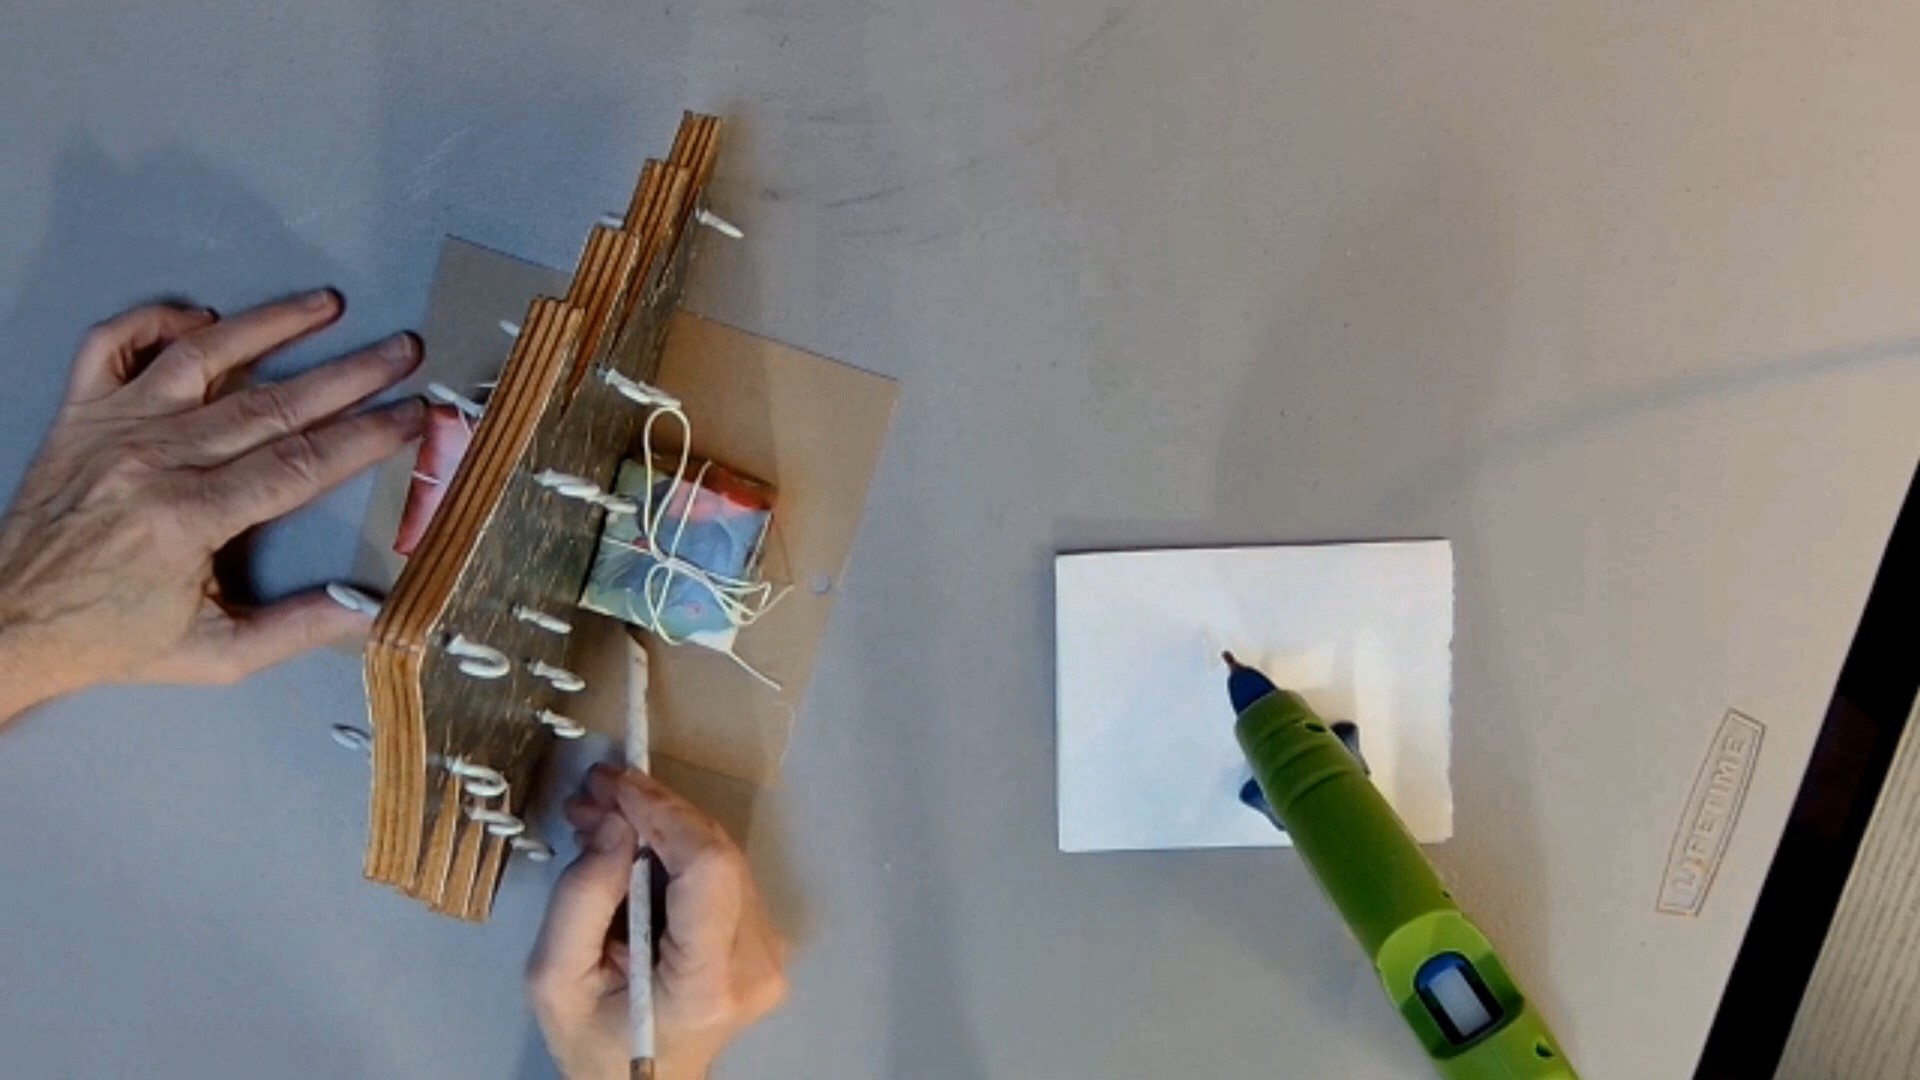
To decide where to place your hooks/brads, position the twelve discs on one side of the tree. (Don’t forget to leave room for the wrapped block at the base.) When you are satisfied with placement, place a small dot to mark each hole. Remove all your pieces and set them aside. Do the same on the opposite side, as this is a double-sided calendar.
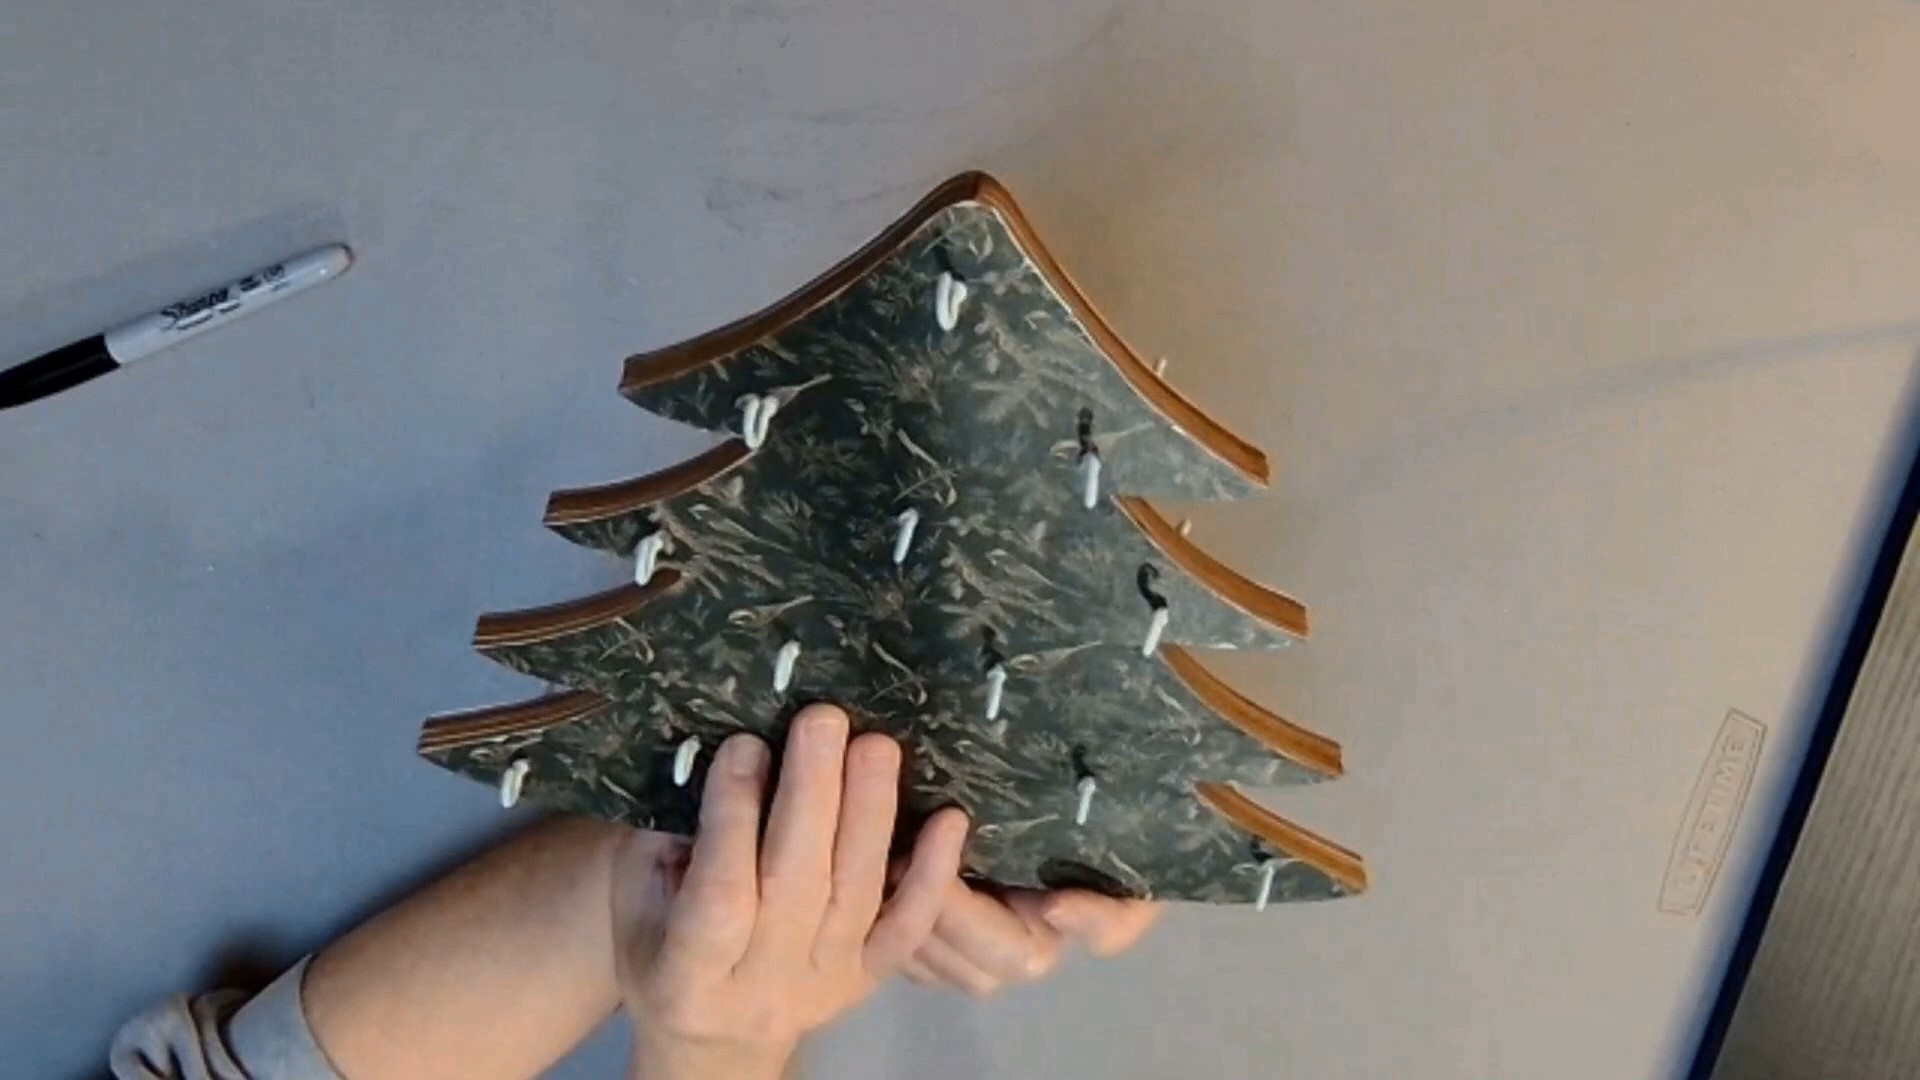
At this point, you can either use a very small drill bit in a drill to make starter holes or just start screwing the cup hooks into place. I found they went into the wood quite easily after I spun them back and forth a little to get the hole started. If using brads, you will have to approach this differently, using a hammer to gently tap them everywhere you marked with the marker.
Once you’ve placed all your hooks or brads, you are ready to attach the gift-wrapped blocks. Hot-glue one to a side of the tree at the base (or “trunk”). Once cool, place everything standing upright on top of your scrap cardboard, trace the outline on the cardboard and then cut it out. Hot glue the cardboard to the base.
Hang all your numbered pieces in whatever order you wish, front and back on the tree. As the days go by and each numbered piece is turned over to the image side, it will be as though you and the children are decorating the tree a day at a time. Another option for this would be to keep the image side blank and instead write out a holiday “thing to do” on each (singing a carol, making cookies, watching a certain movie, writing out greeting cards, reading a holiday book, going to visit a Christmasy place, etc.)
Enjoy!
Remember, each craft is as individual as the crafter making it. Also, follow manufacturer instructions on all items and practice safety in your crafting fun.
Discover more from robin maderich - write-brained scribbler and crafter-on-the-loose
Subscribe to get the latest posts sent to your email.

One thought on “Christmas Tree Advent Calendar”