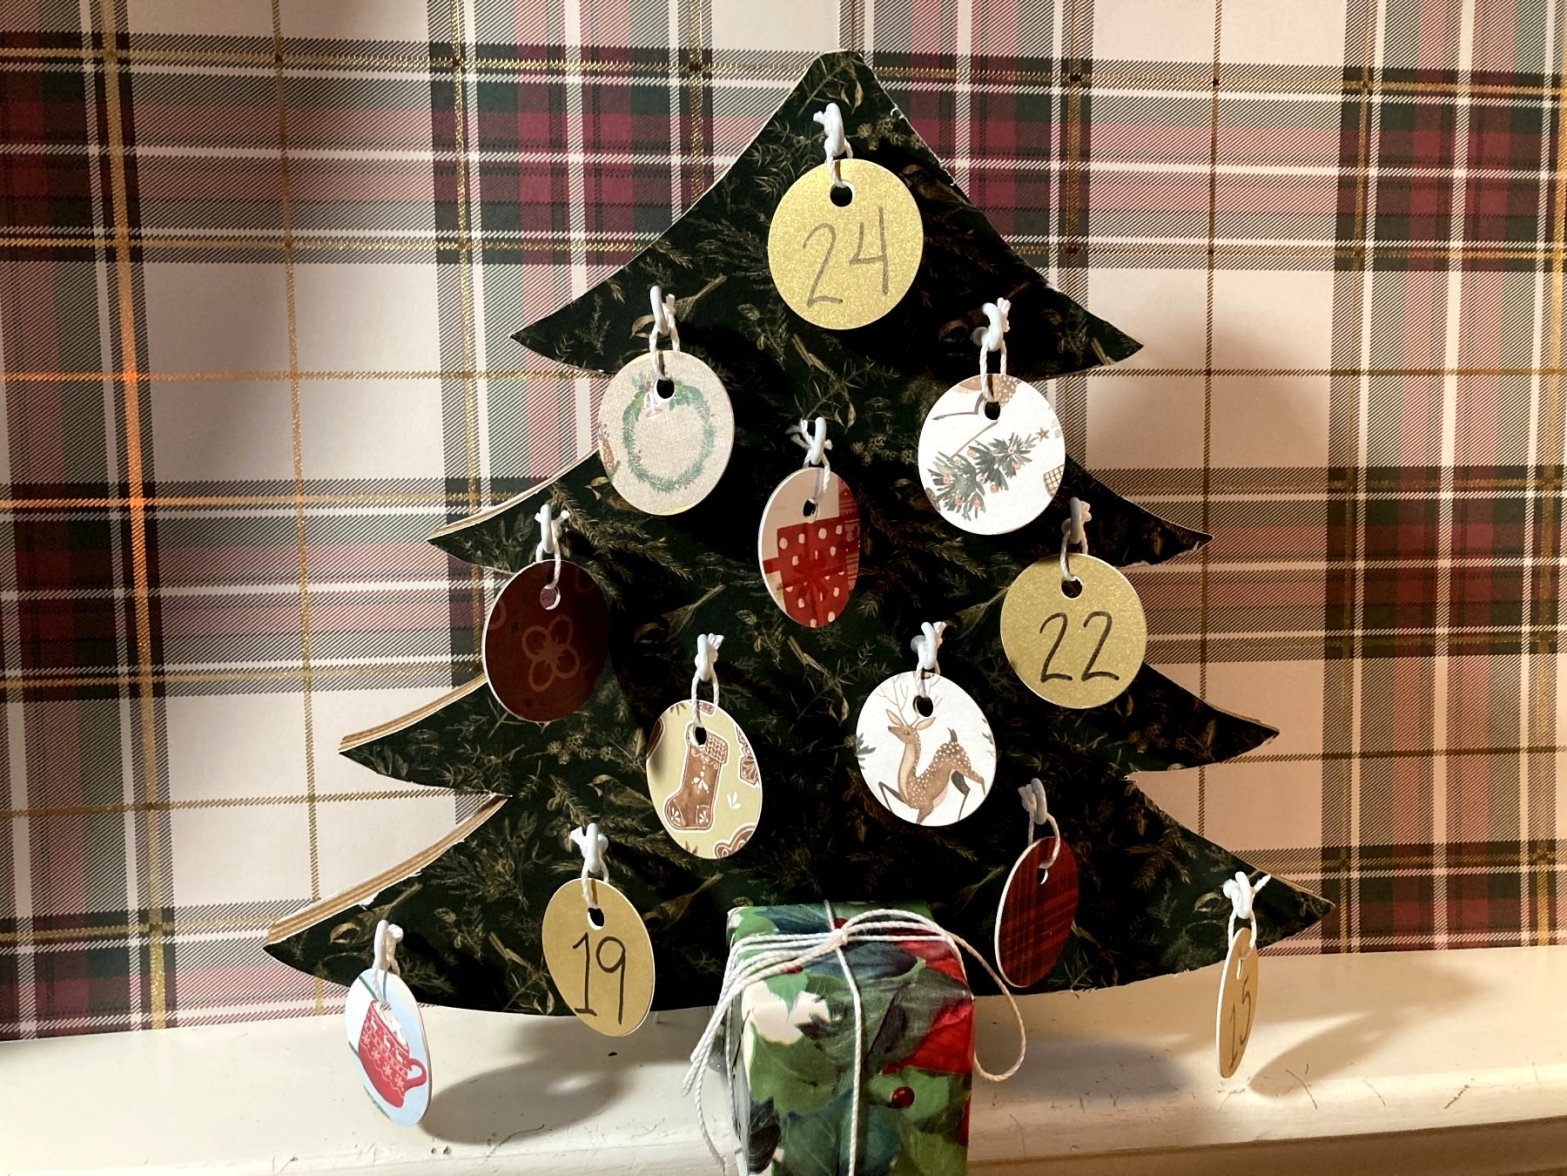
I may have mentioned elsewhere that I love to craft. I used to try selling my crafts on Etsy, but because I love to do so many things I really didn’t have the focus I needed for my shop. One of these days, I might just pick one and get back to it, but inContinueContinue reading “Christmas Tree Advent Calendar”
Category Archives: crafter-on-the-loose
Crafty Season Has Begun!

And so, it begins. It is November after all. Christmas is next month! Here’s a pretty simple craft I am sharing from my YouTube Channel, Tumble Creek Christmas. I am always in possession of multiple gold-colored cat food cans, thanks to having kitties (crazy, but not childless, cat lady that I am). I like theirContinueContinue reading “Crafty Season Has Begun!”
Recycle, reuse, craft!
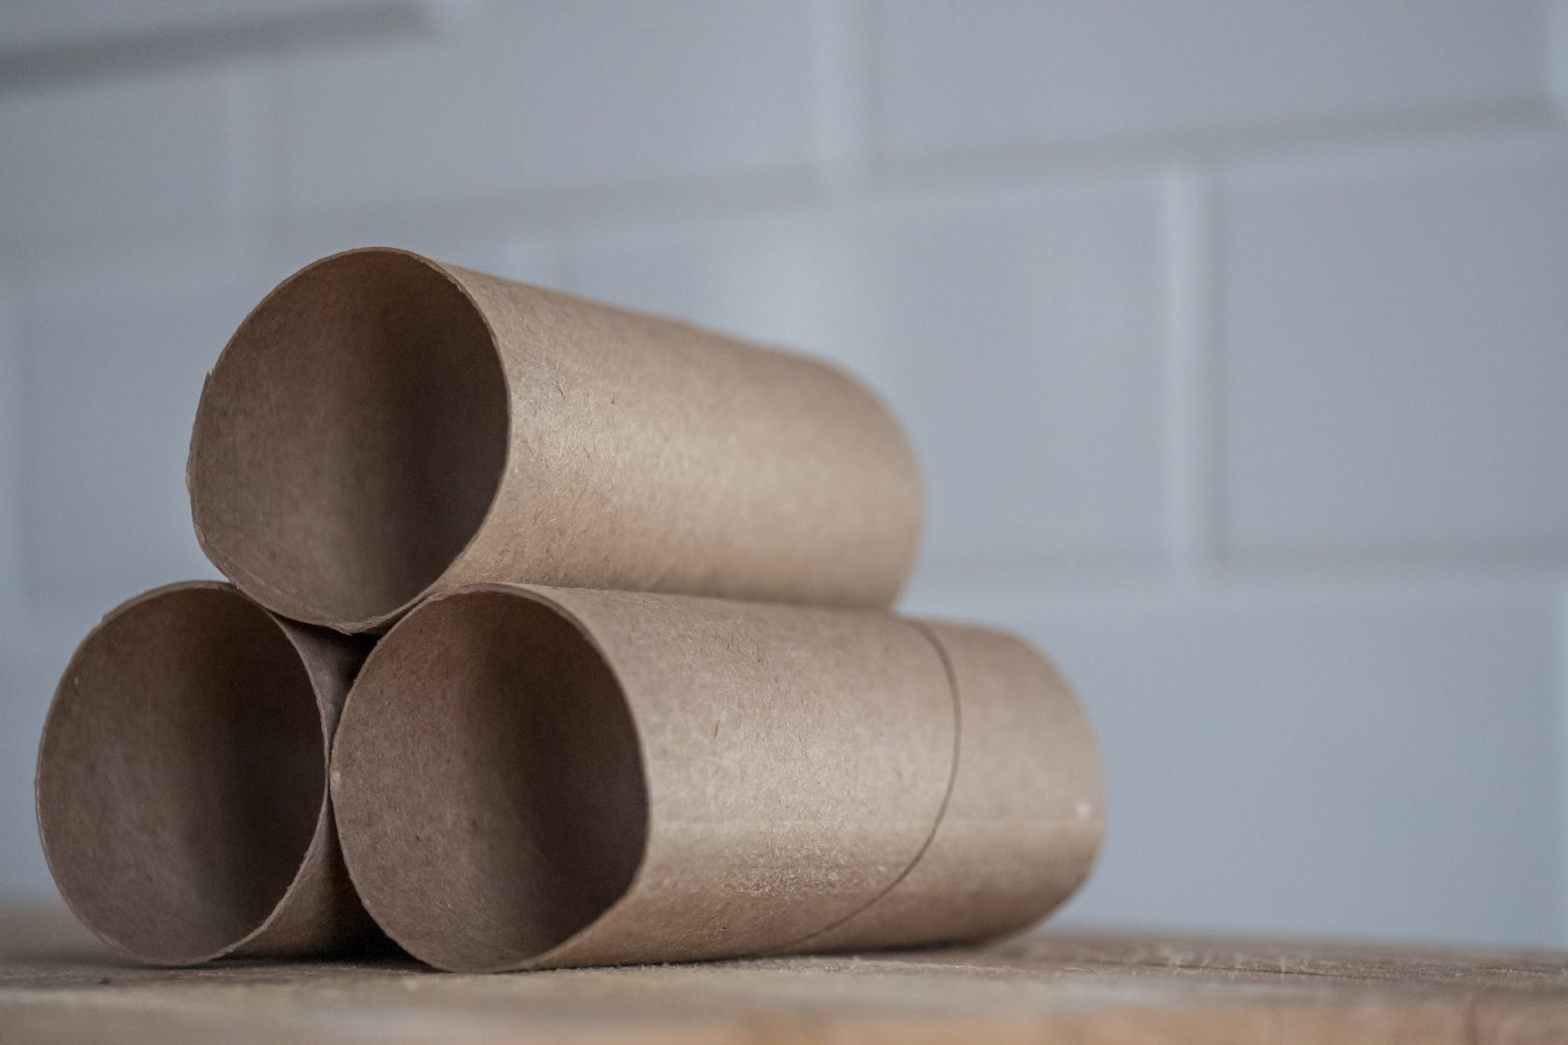
I’m always looking for ways to reuse and recycle. I came across this article and thought I’d pass it on. Me? I use toilet paper rolls as toys for the dog and cats. The dog, because she destroys any other kind of toy–toilet paper rolls, too, but at least they don’t cost $14 a pop!ContinueContinue reading “Recycle, reuse, craft!”
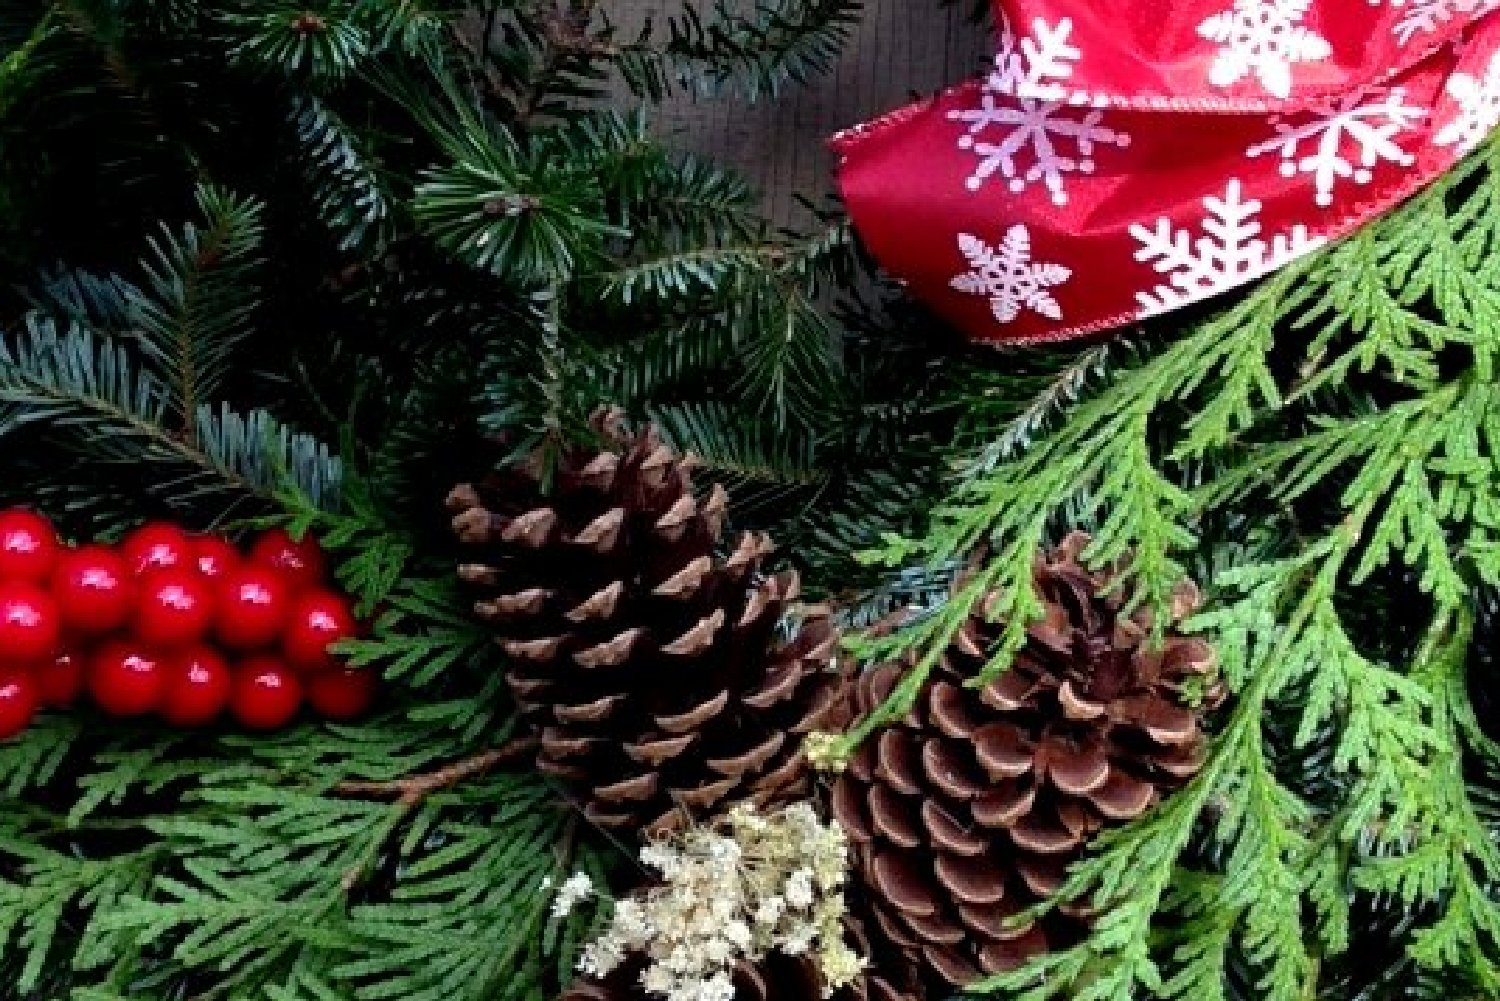
Make this lovely wreath!
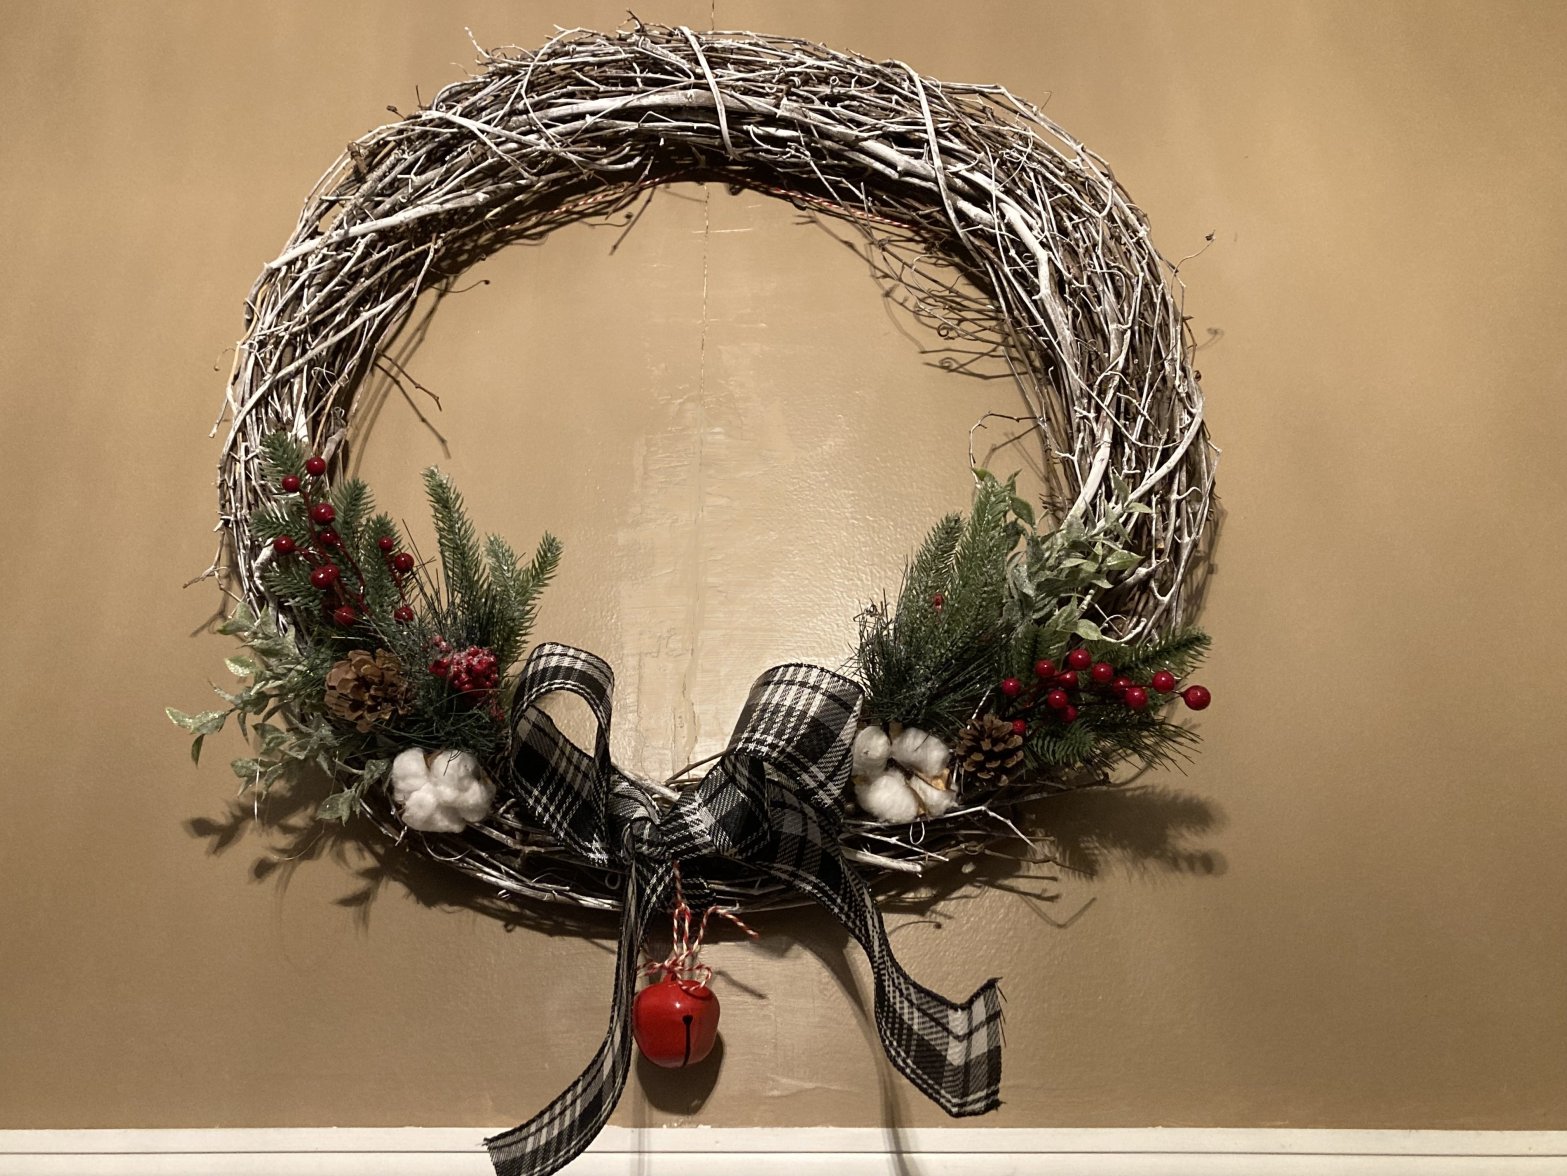
This is one of the simplest wreaths I’ve made (especially since I make ones from real greens closer to the holidays), but I absolutely love it. The grapevine wreath I used is 30 inches across, but you don’t need to go that big. This project can be made with grapevine wreaths of any dimension, asContinueContinue reading “Make this lovely wreath!”
How to Make a Keepsake Ornament

If you’re like me, you hold onto Christmas cards from prior years, either because they have meaning to you, or because they are too cute or beautiful to toss into the recycling. Or both. Below is an excerpt from my craft book, 12 Days of Christmas Projects, showing you how to recycle those Christmas cardsContinueContinue reading “How to Make a Keepsake Ornament”
How-to: Gingerbread Man Paper Mache Ornament
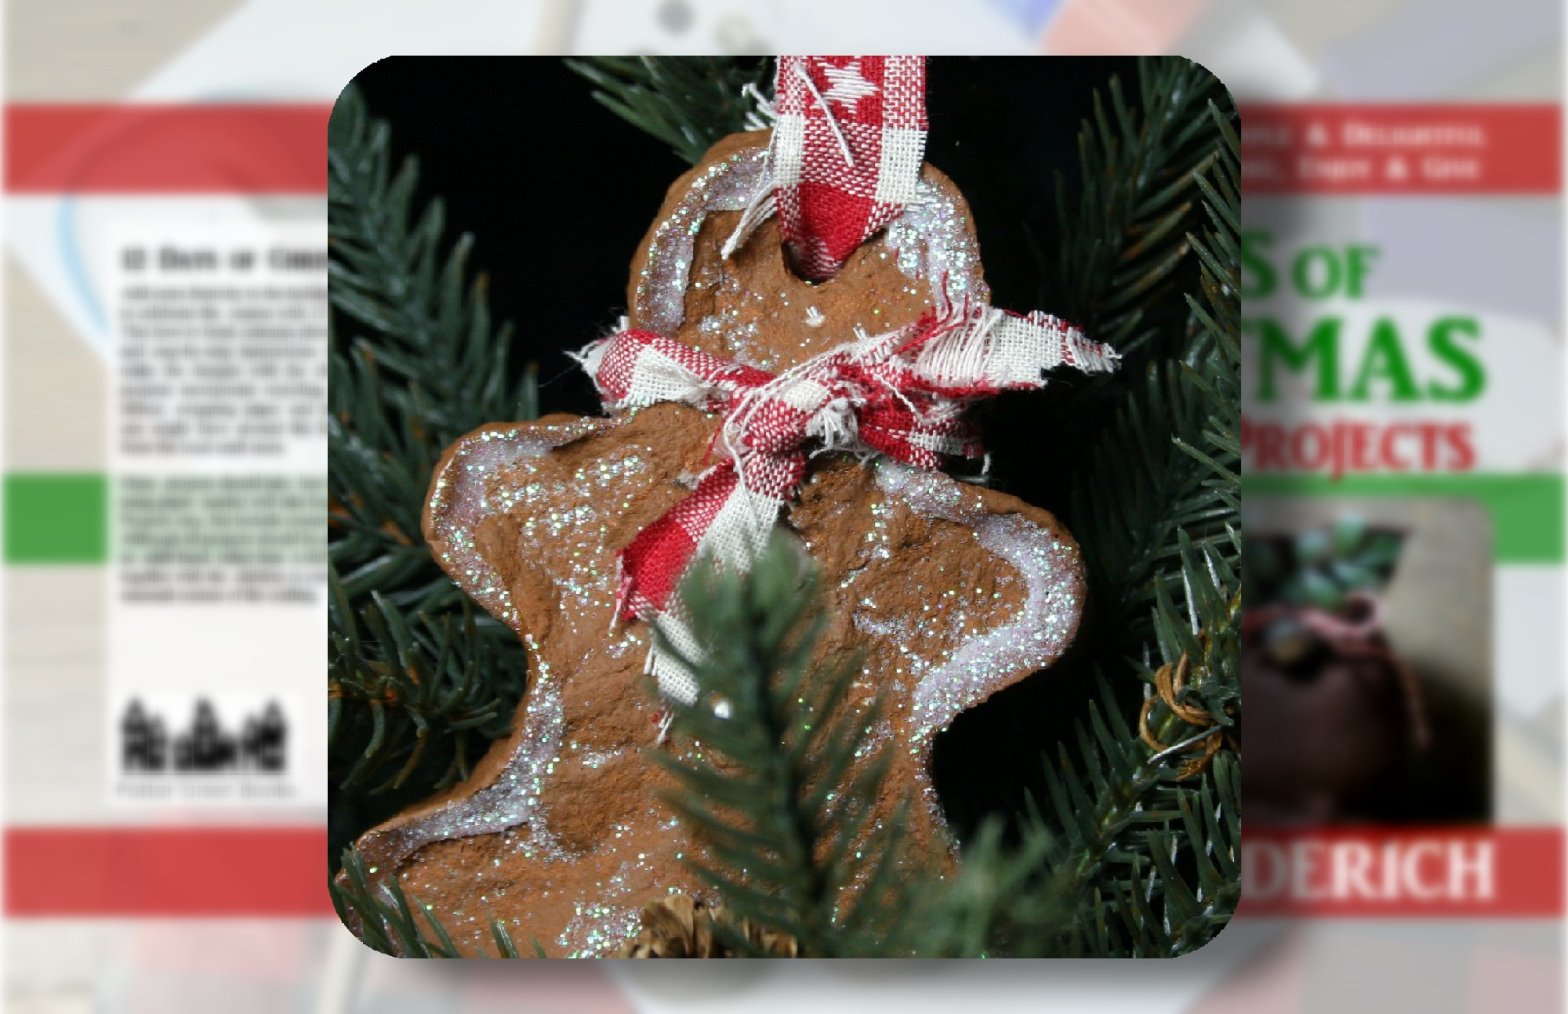
This is an excerpt from my how-to Christmas craft book, 12 Days of Christmas Projects, which is available now at Barnes and Noble, Amazon and other on-line retailers, as well as for order from your local bookstore (support local!). Gingerbread houses and gingerbread men are iconic when it comes to the holidays. This gingerbread manContinueContinue reading “How-to: Gingerbread Man Paper Mache Ornament”
Wreath-Making 101, Part 2 – It All Comes Together
It seems we’ve taken a while to get here, but I believe we’re ready to begin. Remember, there really is no exact or right way to do this. Every wreath I’ve made looks nothing like any of the others. They are all different. It is the nature of nature. The main thing is this: secureContinueContinue reading “Wreath-Making 101, Part 2 – It All Comes Together”
Wreath-Making 101, Part 1 – Gathering Your Material
It may seem a bit early for this type of blog, but honestly, Christmas will be upon us sooner than we can blink. In addition, you will need to start gathering some of the materials for your wreath now with the onset of Autumn. I don’t purport to be an expert at wreath-making, but IContinueContinue reading “Wreath-Making 101, Part 1 – Gathering Your Material”
