It seems we’ve taken a while to get here, but I believe we’re ready to begin. Remember, there really is no exact or right way to do this. Every wreath I’ve made looks nothing like any of the others. They are all different. It is the nature of nature. The main thing is this: secure your greens and flowers and what-have-you, because it gets windy out there in the winter air. Otherwise, what you think is beautiful is beautiful.
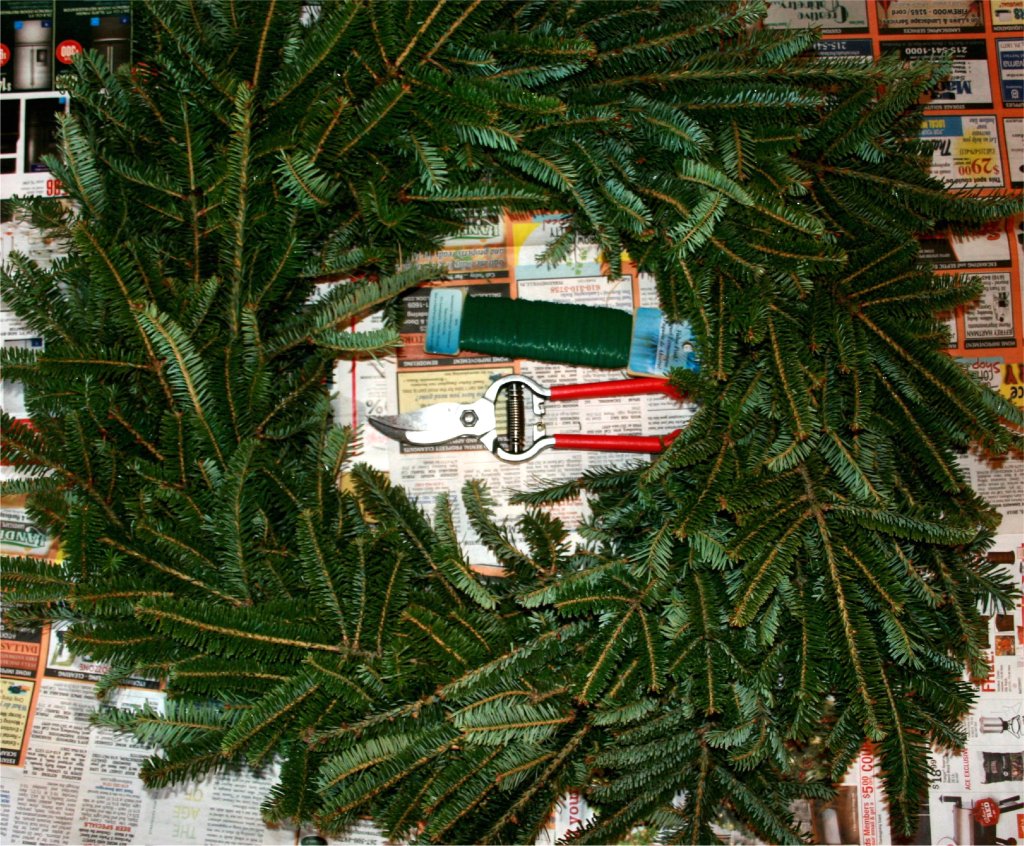
- Cover your work surface (table, floor, counter) with newspaper to protect it. If your wreath or greens happen to be damp, put a plastic garbage bag beneath the paper to keep wooden surfaces dry.
- Place your wreath on top of the newspaper and study it. Wreaths might have spots that are not as thickly packed with evergreen branches. Don’t worry, they will be when you’re finished. It helps to be aware of them when you lay out your extra greens in a dry run.
- Cut your greens to the size needed. With arborvitae, I cut the fronds back to the main branch. I trim boxwood branches to a length of about ten inches. I cut the smaller branches of long-needle pine back to the main branch. Holly I usually cut to a length of roughly seven inches. (I also like to add leafless twigs that are thin, whippy and pliant. I dry brush these with white paint after I’ve put them on the wreath.)
- Take your greens, starting with those with the most volume such as the arborvitae, cedar, long-needle pine, and tuck the cut ends into place around the wreath. When you do this, lift a bit of the evergreen from the wreath and slide the greens beneath. This way they look like an original part of the wreath itself and not an afterthought. Move them around until you like the way they look. Some may stick above the circle of the wreath, some may poke down a bit toward the open center, but most will follow the circle of the wreath itself. You will be removing these one by one as you fasten them permanently to the wreath structure.
If you like what you see, it’s time to fasten these extra greens in place. This can be done one of two ways.
- Florist wire: Cut a length of florist wire (either with your pruner or sturdy scissors) about nine inches long. Fold it in two and place the first of the greens you have removed for placement into the crook of the fold with approximately two inches of the branch at one side of the crook and the remainder of the greens at the other. Twist the florist wire tightly around the branch, like a twisty-tie on a loaf of bread. Work the wire ends down between the bound branches of the wreath as you slide your greens back into place. Twist the ends of the wire together tightly behind the wreath, tucking the pointy ends back into the greens and safely away. Continue this process until all your larger greens are secured in place. Or:
- Hot-Glue: If your wreath is going to be hanging in a fairly sheltered area, use your hot-glue gun to secure the larger greens in place. Follow the directions for your hot-glue gun if you are not familiar with its use. Once your glue is heated, liberally coat the end of the branch of greens you wish to secure, lift the wreath evergreen out of the way, and shove the greens into place. Make sure you do this quickly, before the glue cools. Continue until all larger greens are in place. Be careful. That glue is exactly what the name implies: HOT. (I’ve learned that from experience, believe me.)
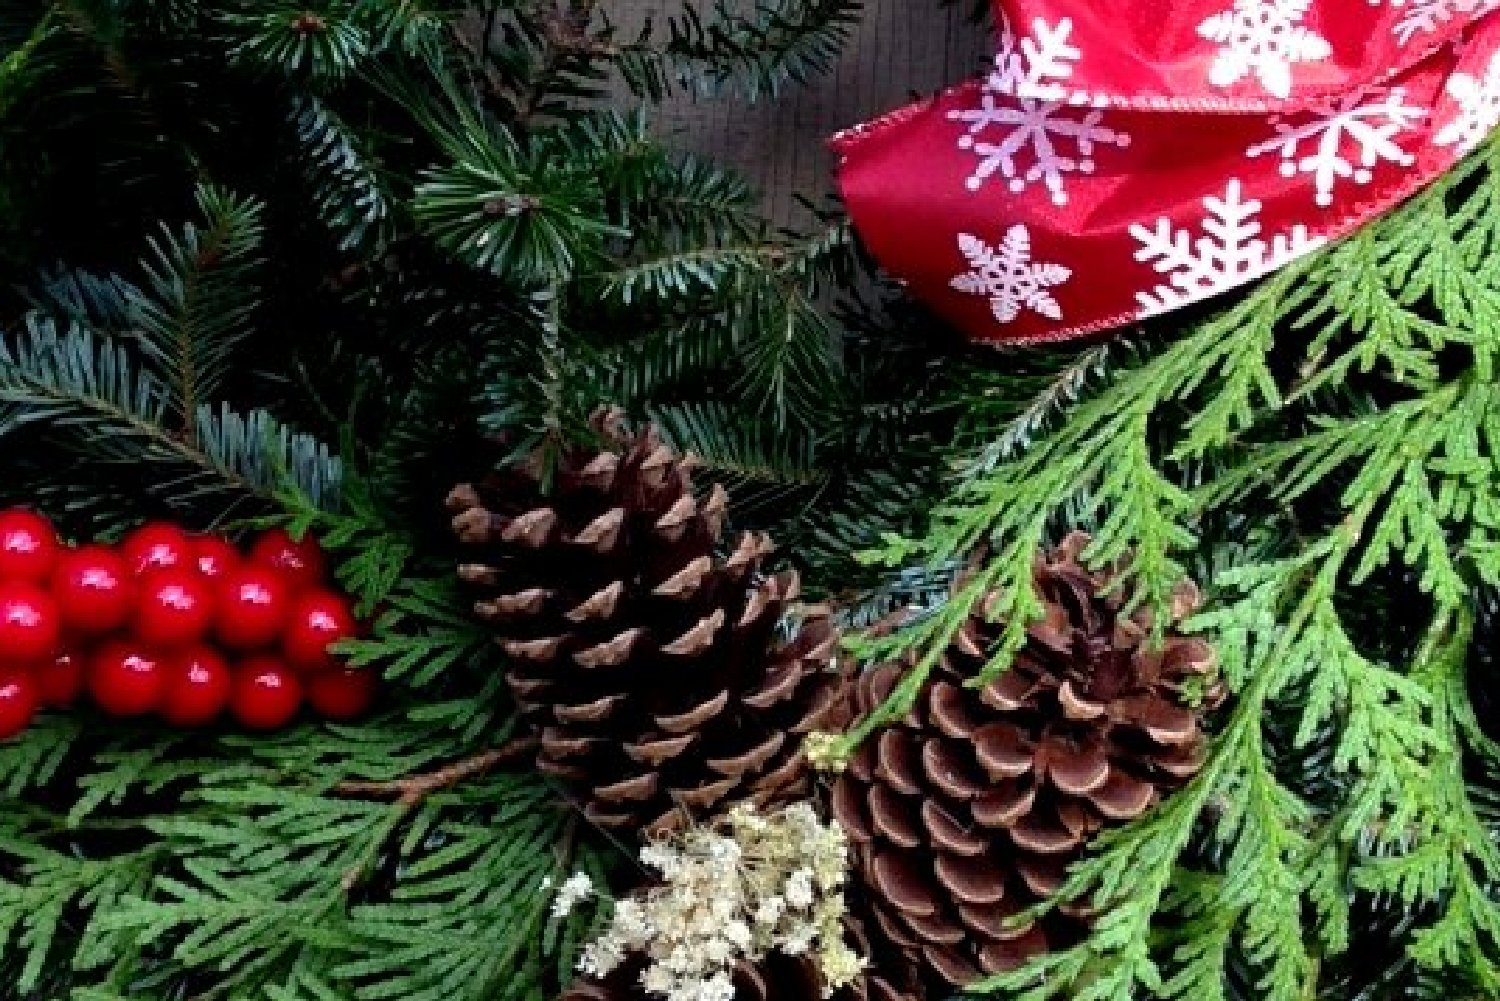
Pine cones:
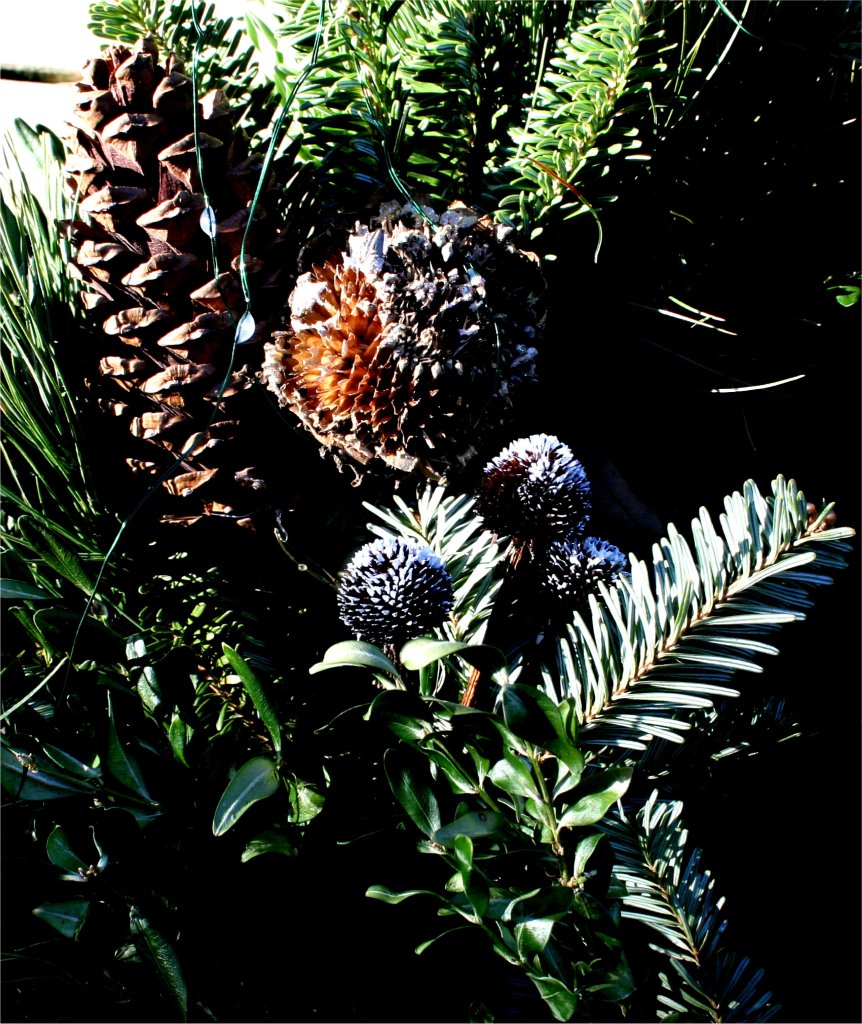
I like to stick to the rule of three, but really, you can load as many pine cones as you wish onto your wreath. When I do them, I usually place three pine cones evenly spaced apart around the wreath, or six pines cones placed two together and evenly spaced around the wreath, or I group three together in one place. This is my preference and does not need to be yours, by any means.
To attach the pine cones, you can wrap the ends in florist wire and attach them to the wreath in a similar fashion as you did the greens, or you can use hot glue. Pine cones are not heavy, so hot glue works very well on them. Even if I use florist wire, I sometimes use a dab of hot glue to get them to lay closer to the wreath. Make sure you’ve tucked them in a bit among the greens rather than totally on top of them.
Seed heads and dried flowers:
Finish up with your dried flowers, seed heads, grasses and seeded weed. Decide where you want them to go and trim the stems for the best fit into the greens. Secure with hot-glue. I like to put these small embellishments close to the pine cones, but the choice is yours for your wreath. If you’ve added the narrow, pliant twigs, this is the time to lightly brush white acrylic craft paint over them. You can dab some paint onto the edges of the pine cone seeds, as well. I do not use florist wire on the seed heads and dried flowers, as the stems are brittle and to wrap the wire close enough to secure the stems to the wreath often breaks them.
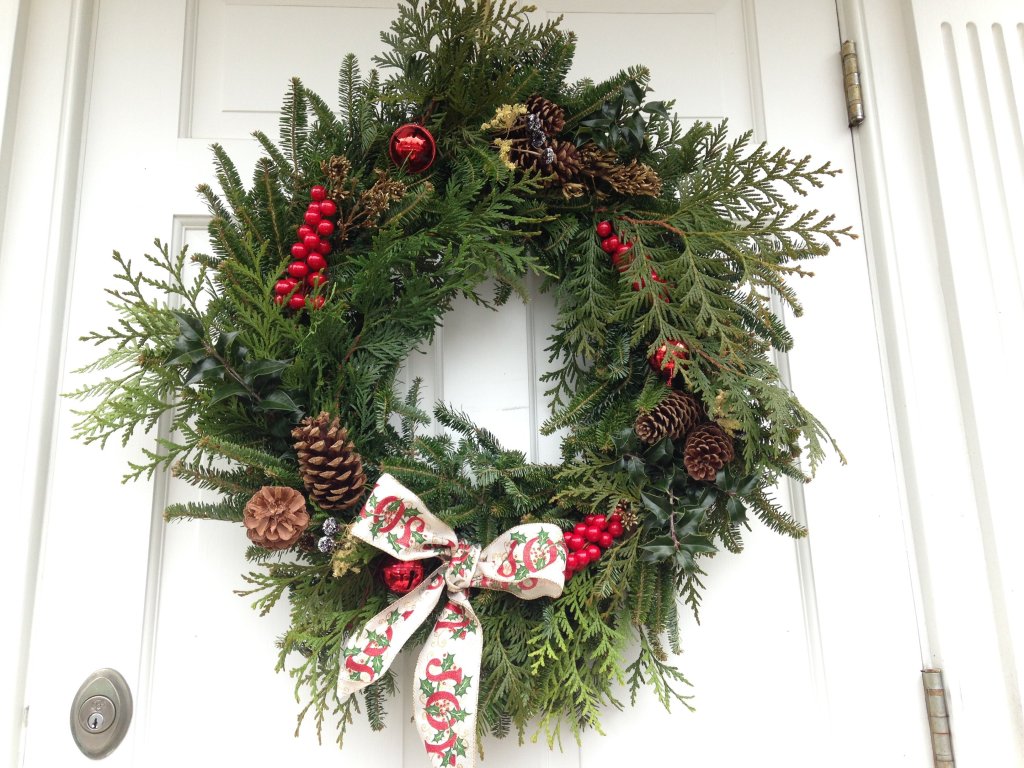
I like to make my wreaths with natural elements, but I often add red berry picks purchased at a nearby craft store. You can also put in jingle bells or ornaments. Items such as bells or glass balls are best attached by string to the sturdiest branches of your wreath.
For hanging purposes, decide what side is the top of your wreath and secure a piece of ribbon, twine or florist wire to the back of the wreath at that point. This can be wrapped around the wire frame, or, if inaccessible due to the tightness of the evergreen branches, your hanging material can be slipped around a sturdy evergreen branch at the back of the wreath and secured.
Last, but not least of course, add a bow. I don’t always. I let the wreath decide whether it needs that final adornment or if it’s fully dressed without. Just look at your wreath with an open mind and it will let you know.
And that’s it. Thanks for stopping by. I hope your wreath-making goes wonderfully well this holiday season. Send a message to let me know.
Wreath Making 101, Part 1 and Wreath Making 101, Part 2 are the copyrighted product of Robin Maderich and are part of an upcoming book on Christmas crafts.
Discover more from robin maderich - write-brained scribbler and crafter-on-the-loose
Subscribe to get the latest posts sent to your email.
