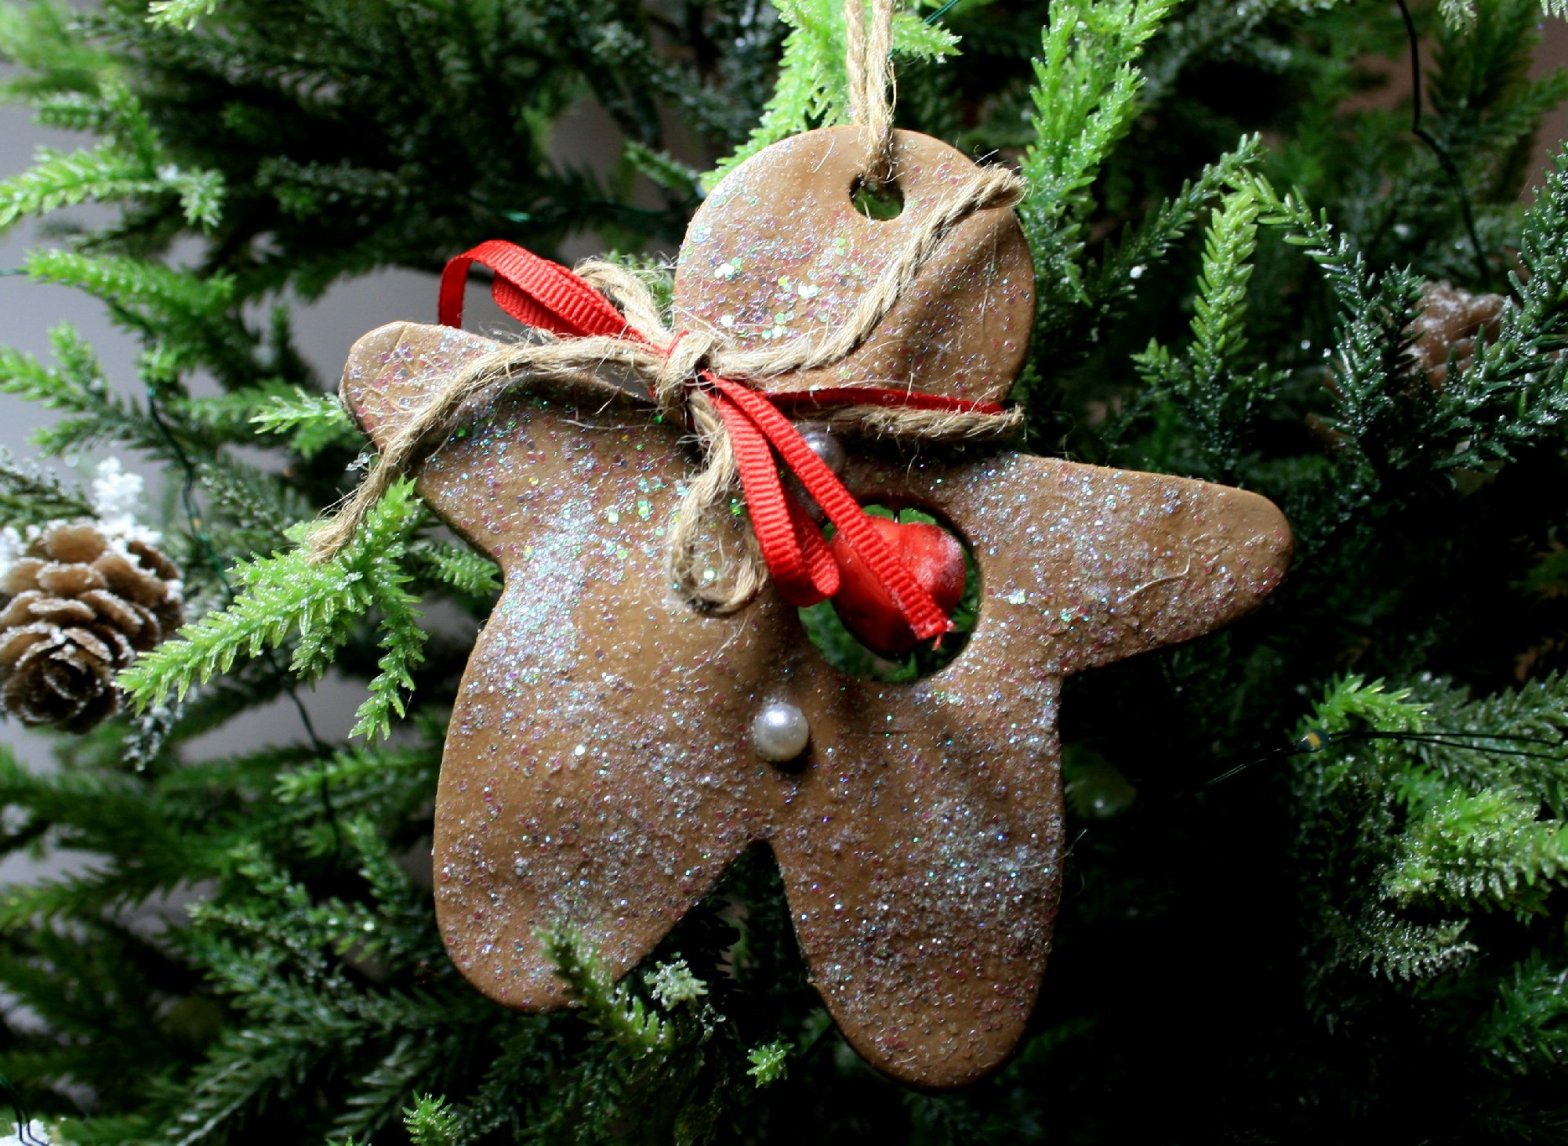
Sometimes I wonder if I start celebrating Christmas too early. I really don’t think there’s such a thing, but yes, that’s me. I start thinking about Christmas in July, I skip over Halloween for the most part, and consider Thanksgiving “Christmas Prelude”. I think Christmas isn’t uppermost in my mind probably from mid-February until theContinueContinue reading “Christmas, anytime”
Category Archives: my favorite time of the year
One thing to add about Christmas…
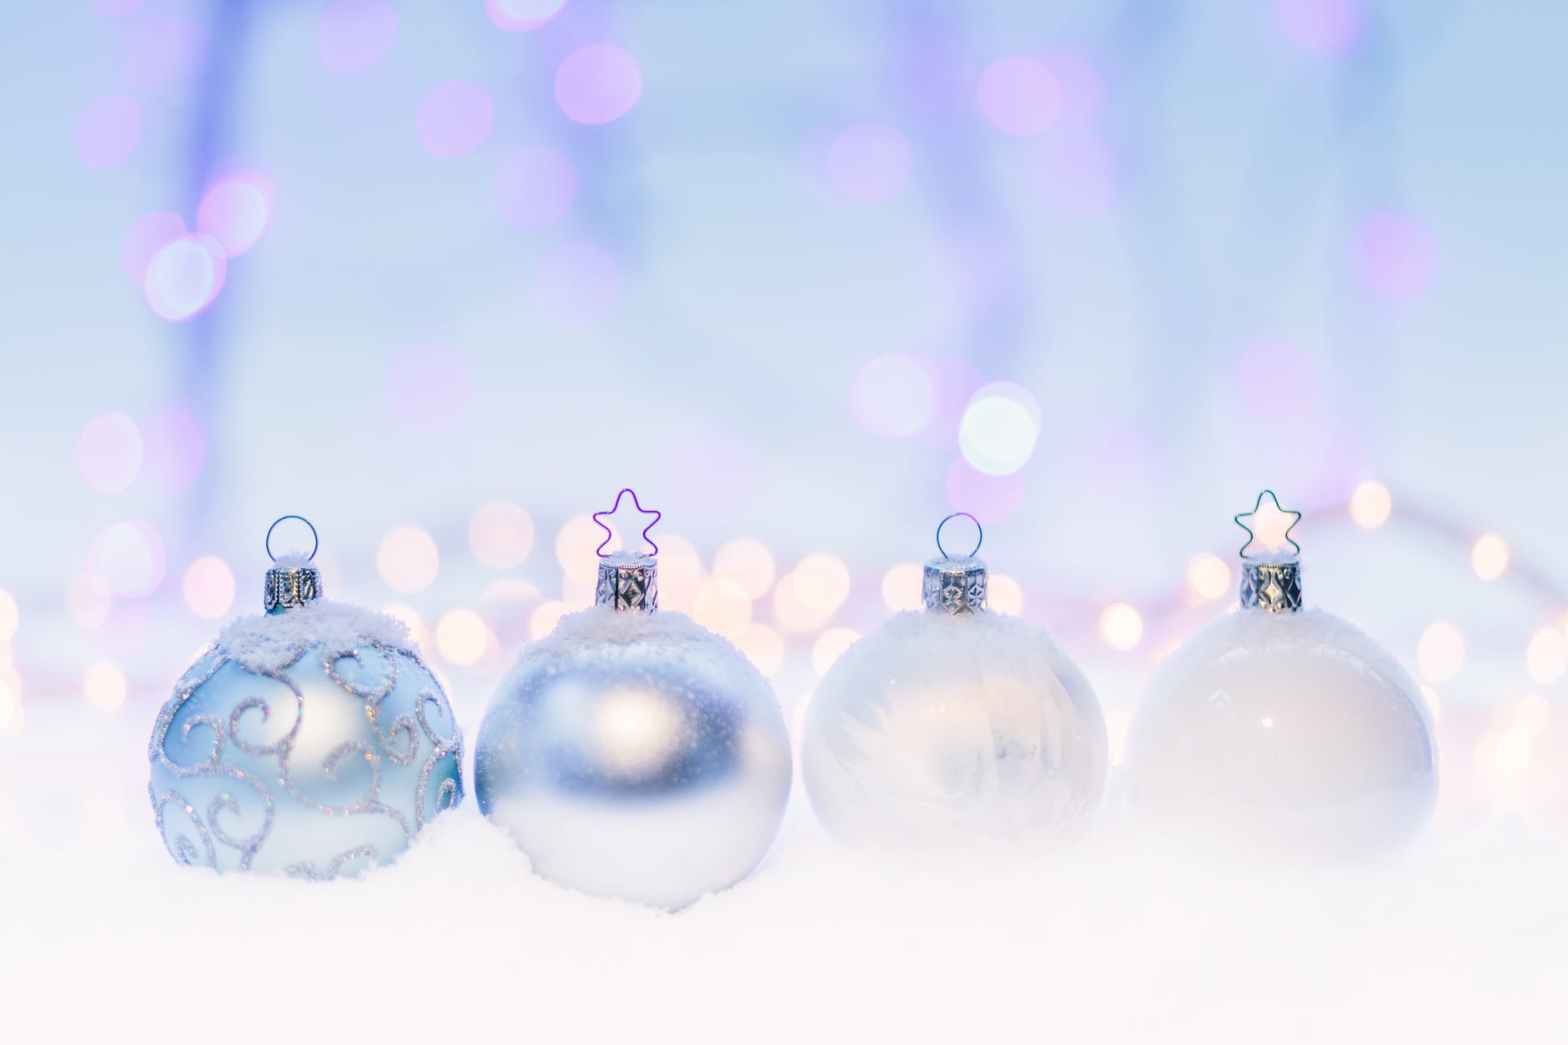
I know I talk a lot about Christmas and how much I love it…and I do. But the past couple years, despite grasping at enthusiasm and expressions to the contrary, I’ve been a bit underwhelmed. I suppose we all have. One thing I have noted though, and I take comfort in this, is the factContinueContinue reading “One thing to add about Christmas…”
New Year’s Revolutions

Yes, that’s not a typo, nor is it a call-to-arms. It’s merely a comment on how many times we make New Year’s resolutions with high expectations, abandon them, feel we’ve failed somehow if we don’t meet them, resolve to make new ones when the next year comes around, and round and round and round betweenContinueContinue reading “New Year’s Revolutions”
Happy Christmas to All
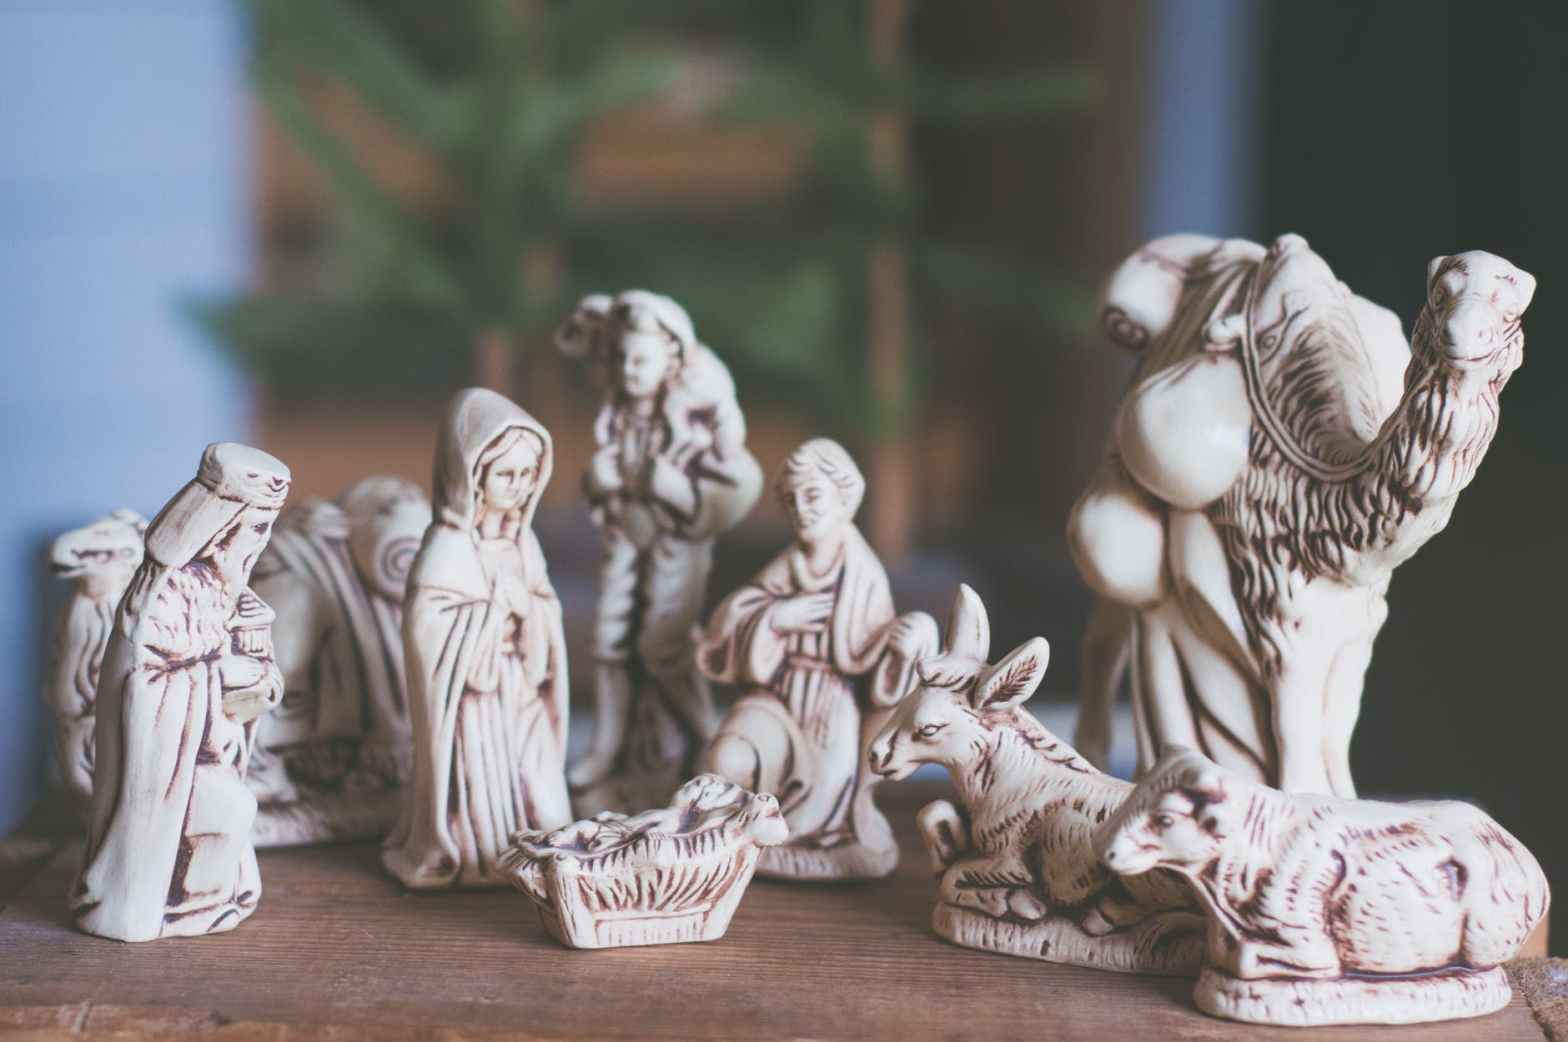
Charlie Brown: Isn’t there anyone who knows what Christmas is all about? Linus Van Pelt: Sure, Charlie Brown, I can tell you what Christmas is all about. [moves toward the center of the stage] Lights, please. “And there were in the same country shepherds abiding in the field, keeping watch over their flock by night. And lo,ContinueContinue reading “Happy Christmas to All”
Joy
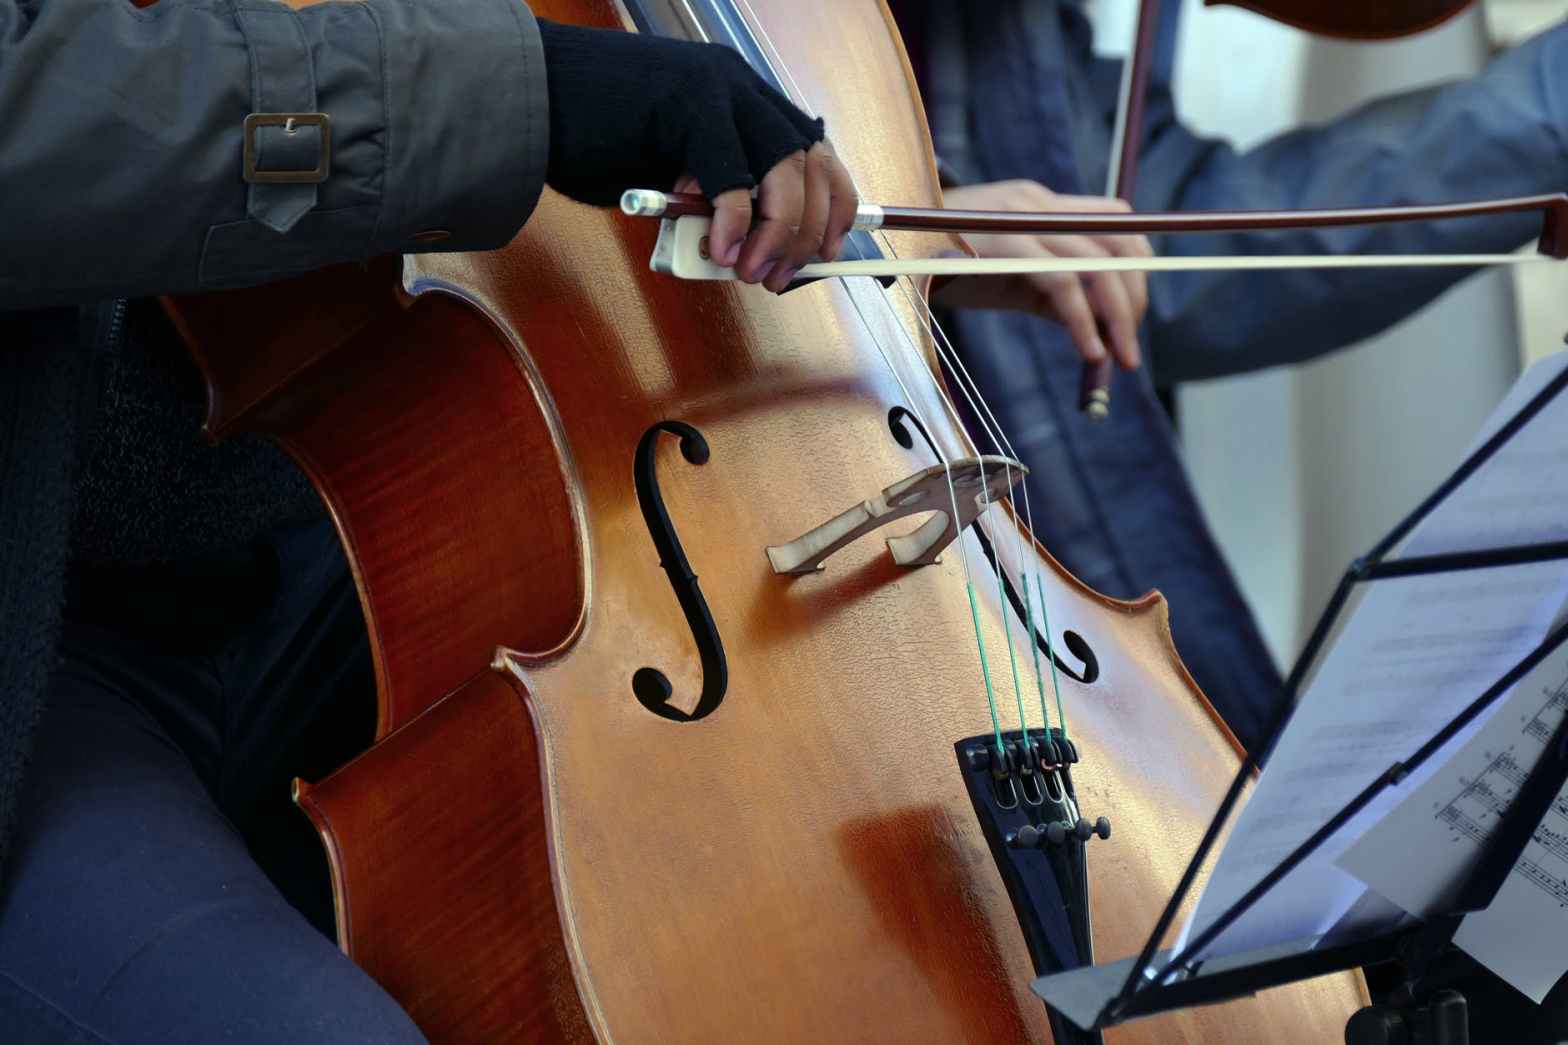
If you’re in need of something uplifting this season, close your eyes and listen to this compilation of Beethoven’s Symphony No. 9 (Ode to Joy) and Joy to the World. Absolutely gorgeous and, well, joyful! https://www.youtube.com/embed/JyVEKsNFDjw
Winter Solstice

It’s cloudy here, a bit of snow predicted. I have been looking forward to seeing the “Christmas Star” and the meteor showers, but I’m going to have to content myself with photographs (like that’s going to make up for something that won’t happen for another how-many centuries). Still, the Winter Solstice is a meaningful timeContinueContinue reading “Winter Solstice”
My 10 Favorite Christmas Quotes
These are my ten favorite quotes relative to Christmas, whether from movies or television shows, books or, yes, the internet. Again, as with the movie list, they are listed as they pop into my head and not by any preference. I thought I might try to make this a little fun and see if anyContinueContinue reading “My 10 Favorite Christmas Quotes”
Ten Things to Do to Get into the Festive Spirit
It’s been one heck of a year. Christmas is going to be tough—which, really, should make this time even more precious than usual. I’ve listed a few suggestions for getting into the Christmas spirit. Hopefully they will help, and if you have any others, please feel free to drop them into the comments! First ofContinueContinue reading “Ten Things to Do to Get into the Festive Spirit”
10 Favorite Holiday Movies I’d Watch Any Time of the Year – Revisited

I know I posted this list last year (or was it the beginning of this year? I do believe I might have come in a little late with it), but I am re-posting and adding another. So that makes it eleven. Yes, eleven in a list of ten. What the hey, there aren’t really anyContinueContinue reading “10 Favorite Holiday Movies I’d Watch Any Time of the Year – Revisited”
best christmas towns in USA — post re-blogged from Delusional Bubble
Now if only I could travel to all these places, I’d be in one glorious state of mind. I have shared this blog from “Delusional Bubble” who graciously provided this joyful list of best Christmas towns. Enjoy! I did. Believe it or not, Christmas is closer to us than it appears! The second best thingContinueContinue reading “best christmas towns in USA — post re-blogged from Delusional Bubble”
